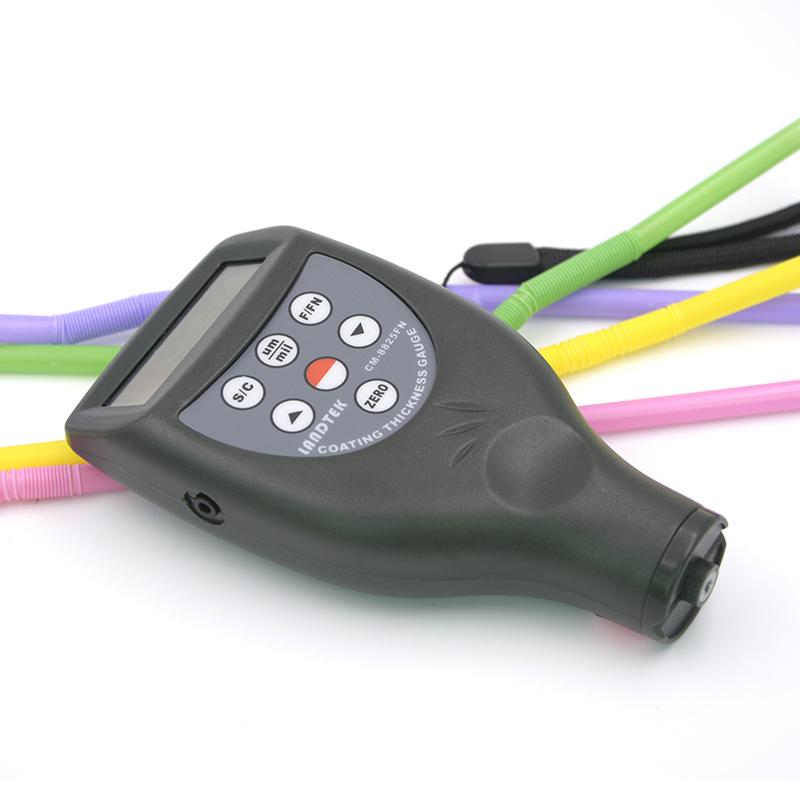
There are various methods for measuring the thickness of the cladding, including wedge cutting method, light truncation method, electrolysis method, thickness difference measurement method, weighing method, X-ray fluorescence method, β-ray backscattering method, capacitance method, magnetic measurement method and eddy current measurement method. Among them, the first five methods belong to destructive testing, which is cumbersome and slow, and most of them are suitable for sampling inspection. X-ray and β-ray methods are non-contact and non-destructive measurements, but the equipment is complex and costly, the measurement range is relatively narrow, and the presence of radioactive sources requires strict compliance with radiation protection norms. The X-ray method is capable of measuring very thin coatings, double coatings, and alloy coatings, while the β-ray method is suitable for coatings and substrates with atomic numbers greater than 3. The capacitance method is generally only used for thickness measurement of the insulating cladding of thin conductors.
Measuring Principles and Instruments
Magnetic attraction measurement principle and Thickness Gauge

The amount of suction between the permanent magnet (probe) and the magnetically conductive steel is proportional to the distance between the two, which is the cladding thickness. Thickness gauges designed based on this principle can be measured as long as the difference between the permeability of the cladding and the substrate is large enough. Since most industrial products are stamped and formed by structural steel and hot-rolled and cold-rolled steel plates, magnetic Thickness Gauges are therefore widely used. The basic structure of the gauge includes magnets, tension springs, rulers and self-stop mechanisms. When the tensile force is just greater than the suction force, the tensile force recorded at the moment when the magnet is separated from the test object, the tensile force can be converted into the thickness of the cladding. The new (patented) product automates this recording process, with different capacities and applications for different models.
Magnetic induction measuring principle
Thickness gauges using the principle of magnetic induction determine the thickness of the cladding by measuring the magnitude of the magnetic flux flowing into the ferromagnetic matrix from the probe through the non-ferromagnetic cladding, and can also represent the thickness of the cladding by measuring the corresponding magnitude of the magnetic resistance. The thicker the cladding, the greater the magnetic resistance and the smaller the magnetic flux. The Thickness Gauge using the principle of magnetic induction can theoretically measure the thickness of the non-magnetic conductive cladding on all magnetically conductive substrates, and the magnetic permeability of the substrate is generally required to be more than 500. If the cladding material is also magnetic, the difference in permeability between it and the substrate is large enough (e.g., nickel plating on steel). When a soft-core probe with a coil is placed on the sample being measured, the instrument automatically outputs a test current or signal. Early products used an analogue meter that measured the amount of induced electromotive force and magnified it to indicate the thickness of the cladding. In recent years, advanced technologies such as frequency stabilization, phase locking, and temperature compensation have been introduced into the circuit design, and magnetoresistive modulation has been used to measure signals, and patented integrated circuits and microcomputers have been used to greatly improve the measurement accuracy and reproducibility (nearly an order of magnitude). Modern magnetic Thickness Gauges have a resolution of up to 0.1 μm, a permissible error of 1%, and a range of up to 10 mm.
The principle of eddy current measurement
The closer the probe is to the conductive matrix, the greater the eddy current and the reflected impedance, which can characterize the distance between the probe and the conductive substrate, that is, the thickness of the non-conductive cladding, the probe used to measure the thickness of the overlay on the non-ferromagnetic metal substrate is called the non-magnetic probe, which uses high-frequency, high-permeability materials (such as platinum-nickel alloy, etc.) to make the coil core, which is different from the magnetic induction principle in the probe, the frequency of the test electrical signal, etc., the eddy current Thickness Gauge reaches a resolution of 0.1 μm, High allowable error of 1% and measuring range of 10 mm. Theoretically, the eddy current principle Thickness Gauge can measure the non-conductive coating on all conductors, such as a variety of aluminum product surface coatings, and the cladding material can also be measured after calibration when the cladding material has a certain conductivity, but it is required to be at least 3-5 times different from the conductivity of the substrate, but the magnetic principle is more suitable for the thickness measurement of the overlay layer on the steel matrix.

Computerized Thickness Gauges
Due to the similar circuit structure of magnetic induction and eddy current Thickness Gauge, and the integration of microcomputer technology, the degree of intelligence and automation of the instrument has been greatly improved. Some manufacturers integrate the two principles and equip multiple types of probes to create a "universal Thickness Gauge", which reduces user costs. The Thickness Gauge continuously optimizes the probe structure, can automatically identify different probes and call the corresponding control program, output specific waveforms and frequencies of test electrical signals for different probes, change the scale conversion software, can be equipped with 10 kinds of probes, the thickness range is expanded from 0.1μm to 10mm, and can measure a variety of substrate-cladding combinations to meet the needs of most industries. Its data can be stored, printed, and statistically analyzed in the instrument, and the histogram can be printed, and the upper and lower limits will be alarmed after the upper and lower limits are set, and there is also a computer interface, which can exchange data with the PC, and automatically complete all kinds of measurements by PC control.
calibration
The gauge must be calibrated before using it to ensure that the measurement is accurate. The composition, thickness (when the thickness is insufficient), and radius of curvature of the calibration specimen and the base material of the test object should be consistent, and the area of the two should be the same when the measured area is too small (the diameter is about 20 mm or less), and the conductivity or magnetic conductivity of the cladding should be the same. The cladding of the calibration specimen should be calibrated, or calibrated with a calibration sheet (such as triacetate film, etc.), and calibrated according to the instructions to ensure accuracy. The microcomputer Thickness Gauge can store multiple calibration values, which need to be calibrated and stored separately due to the product condition and probe replacement, and can be directly called when used, that is, "quick change datum". Calibrations are designed to correspond readings linearly to actual values, with instructions for zero, slope, and linear calibrations, and some gauges can be calibrated through cladding to facilitate complex field operations.
Factors affecting the measured value and how to solve it
The reliability of the measured values of cladding Thickness Gauges based on the magnetic principle and the eddy current principle is affected by a variety of factors. The electromagnetic characteristics and physical dimensions of the tested substrate are very important, such as the boundary distance, if the distance between the probe and the boundary of the measured body is less than the specified value, the measurement error will occur due to the insufficient cross-section of the magnetic flux or eddy current carrier, and it can only be measured after the surface calibration without cladding under the same conditions; The curvature of the substrate surface changes the length of the magnetic circuit and affects the measurement, so it needs to be pre-calibrated; The minimum thickness of the base metal should ensure that the electromagnetic field of the probe can be completely contained in it, and the thickness below this thickness needs to be corrected, and the effect can be eliminated by clinging to the same material. In addition, the surface roughness and cleanliness, the force during measurement, and the external constant magnetic field will also interfere with the measurement, and the ferromagnetic and conductive components in the cladding material will also affect the measured value, and the corresponding method should be calibrated or corrected to ensure the accuracy of the measurement results.
The cladding Thickness Gauge made of magnetic and eddy current principle is economical, practical and widely used, and can effectively solve the practical problems in most industrial applications, but in actual production, it is necessary to reasonably select the measurement method according to different materials and coatings, such as the metal coating layer on FRP and other materials can be measured by the eddy current principle, and the paint coating layer needs to use the β ray method or the wedge cutting method that will damage the surface, etc., and many metal layers are matched with destructive testing methods such as electrolytic corrosion method; Although the non-destructive measurement method is limited by the measurement conditions, the measurement range can be expanded by paying attention to its influence and adopting appropriate correction methods, such as the thickness limit of the substrate can be reduced from 0.5mm to 0.1mm, and the instrument manufacturer and relevant national standards can provide a reference for the correction method; The thickness of the inspection coating ranges from 0.2-12mm, and it can work for ten hours on a single charge, which is very convenient for on-site use.
