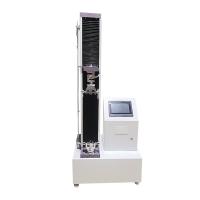
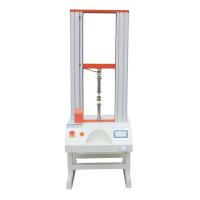
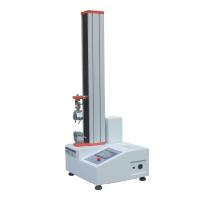
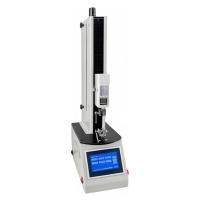
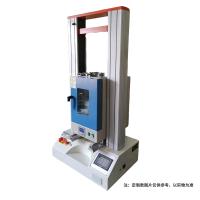
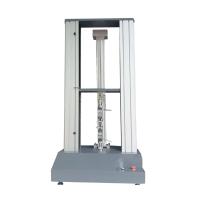
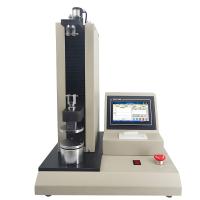
In the field of materials science and engineering, tensile testing machines are critical tools for unraveling the nature of materials' mechanical properties. It is not only a simple "pull-off" device, but also a complex measurement system that integrates precision mechanics, sensing technology, automatic control and data processing. Understanding its complete working principle from force perception to data output is the basis for scientific operation of equipment and accurate interpretation of data. This article will systematically analyze this process and reveal the technical context behind the stretch curve.
Stage 1: Precise perception of forces and deformations - sensing systems
The entire testing process begins with the precise measurement of two core physical quantities: load and deformation.
At the heart of load measurement is the force sensor. Modern electronic universal testing machines generally use strain gauge or digital sensors. The core is the strain gauge bridge - when the sensor elastomer is deformed by force, the resistance value of the precision strain gauge pasted on it changes accordingly, breaking the balance of the bridge and outputting a millivolt voltage signal proportional to the load. This process achieves a fundamental shift in the conversion of mechanical forces into measurable electrical signals. The digital sensor used in high-end devices goes a step further, with a built-in microprocessor directly outputting digital signals, which has stronger anti-interference ability and better stability.

Deformation measurement is mainly done by extensometer. The contact extensometer transmits the axial elongation of the specimen to the built-in strain gauge or LVDT (Linear Variable Differential Transformer) through a precision mechanical structure or gauge bar, which is converted into an electrical signal output. The non-contact video extensometer tracks the displacement of the marking point on the surface of the specimen and uses image processing algorithms to calculate the strain, which is suitable for situations where traditional contact measurement may cause interference. In addition, the displacement of the equipment beam is precisely recorded by means of a photoelectric encoder or magnetic scale as an auxiliary deformation reference.
The second stage: precise execution and coordination - control system
After obtaining the sensing signal, the system needs to achieve precise management of the test process through the control system. This is the "brain" of the testing machine.
A fully digital closed-loop control system is standard on modern high-performance testing machines. The core principle is that the system collects feedback signals from the force sensor or extensometer in real time and compares them with target values set by the operator, such as a constant load rate, strain rate or displacement rate. As soon as a deviation is detected, the control algorithm immediately calculates the amount of correction and issues instructions to the servo drive. The drive drives the servo motor to rotate and moves the beam through a precision ball screw or timing belt system, thereby applying or adjusting the load on the specimen, ultimately aligning the feedback signal with the target value.
This closed-loop control enables precise reproduction of test conditions, whether performing constant stress relaxation experiments or simulating complex load-unload cycles, ensuring precise and repeatable processes. The movement accuracy of the beam can reach the micron level, ensuring smoothness and data accuracy during low-speed testing.
The third stage: from signal to graph - data acquisition and processing system
While the control system is running, the data acquisition system (DAQ) works synchronously at high speed. It filters analog signals from sensors, extensometers to remove noise, and converts them into computer-recognizable digital signals through analog-to-digital converters (ADCs).
The collected data is transmitted to computer software in real time. Here, the original physical quantity (voltage, number of pulses) is converted into engineering units (Newtons, millimeters, megapascals) based on a preset calibration factor. The core function of the software is to plot and record load-displacement curves or stress-strain curves in real time. This curve is a complete "fingerprint" of the mechanical behavior of the material, recording the entire process from elastic deformation, yield, plastic strengthening to neck fracture.
The fourth stage: extraction and analysis of performance parameters - result output
In the final stage, the software intelligently analyzes the complete curve based on algorithms defined in international or national testing standards (e.g., ASTM E8, ISO 6892, GB/T 228.1), automatically identifies key feature points and calculates various mechanical performance parameters:
Strength indicators: such as yield strength (upper/lower yield point or specified plastic extension strength Rp), tensile strength (maximum stress point).
Plastic indicators: such as elongation after break, section shrinkage.
Stiffness index: such as the elastic modulus calculated by the slope of the initial linear segment of the curve.
After the analysis is completed, the system can automatically generate a standardized test report, including complete curves, key data tables, test conditions and sample information, and can be exported to PDF, Excel and other formats for easy archiving, sharing and subsequent statistical analysis.
summary
From the microscopic strain sensing of sensors, to the precise execution of control systems, to the collection, conversion, analysis and output of data systems, the working principle of tensile testing machines constitutes a complete, precise and highly automated measurement chain. Understanding this chain, technicians can go beyond the level of "button operators", gain insight into the physical meaning behind the data, set test parameters more scientifically, judge the root cause of data anomalies, and truly trust and use every number in the test report. In today's pursuit of the limits of material performance, a deep grasp of measurement principles is a solid cornerstone for ensuring reliable data and driving technological progress.


