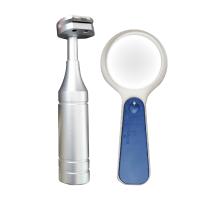
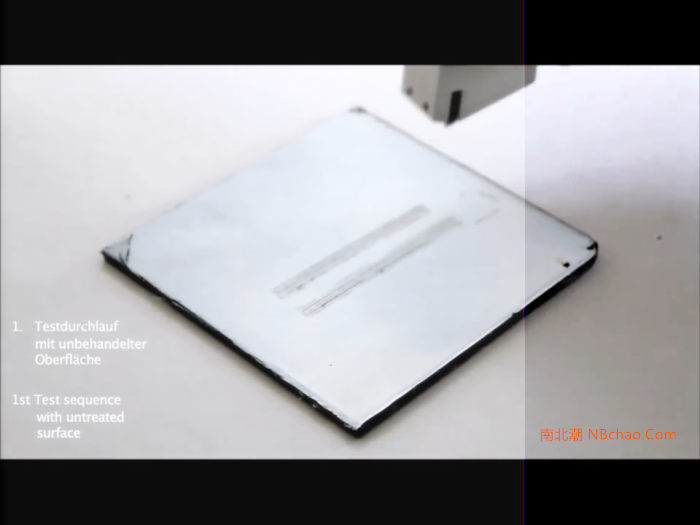
Step 1: Use a scratch knife to draw vertical traces on the prepared coated film
The load applied by the cross-cutting knife on the sample ensures that the cross-cutting knife can penetrate the coating film
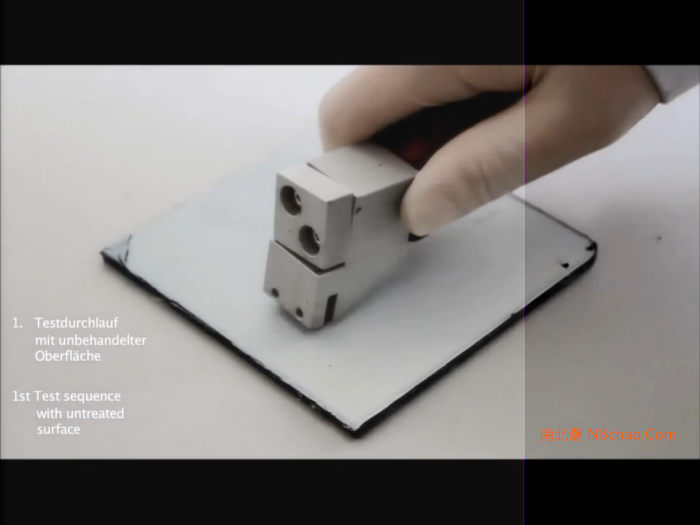
Sequentially draw the same scratches at an angle of 90° perpendicular to the above picture
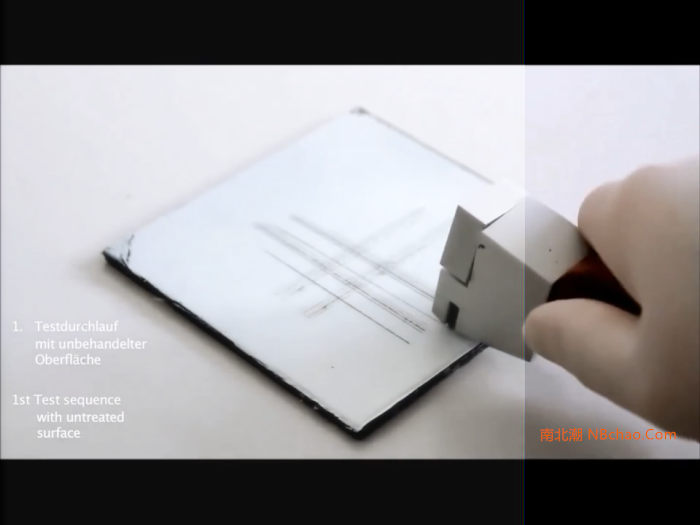
The picture below is the coated film board to be tested drawn with a grid

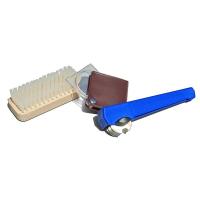
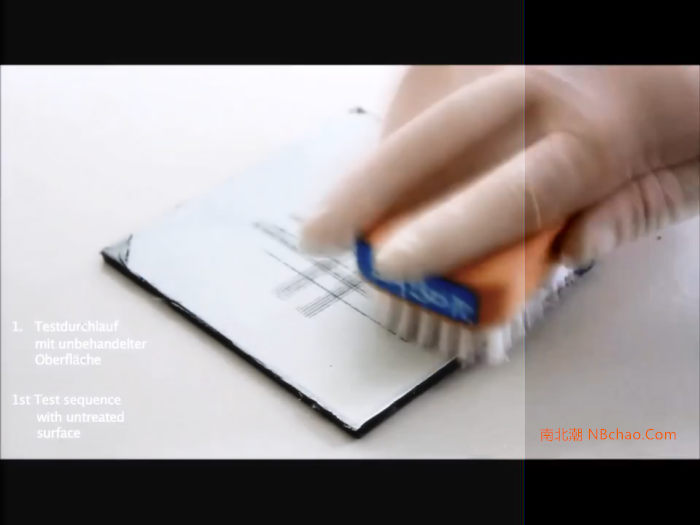
Step 2: Gently brush off the mobile powder remaining on the surface with a soft brush to ensure that the coating film is clean as a whole
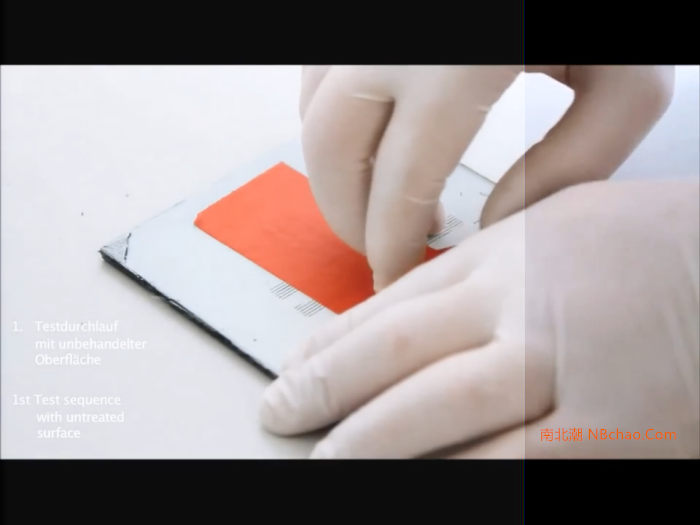
Step 3: Paste the test tape on the center of the cross grid, and make sure the sticking is firm. If necessary, you can use a soft brush to gently brush back and forth on the tape to level it.

Step 4: Quickly tear off the tape from the coating film sample, and judge the adhesion level according to the level of the cross-hatch test.
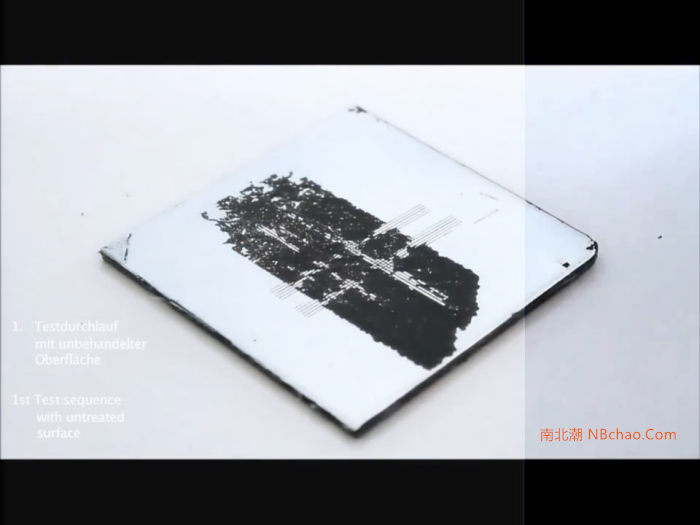
The picture below is a sample of the experimental results with poor adhesion
If the adhesion is good, it will show the sample effect of the picture below. The contrast between the two is clearly visible.