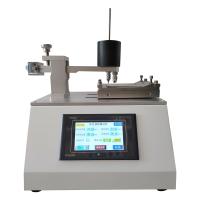
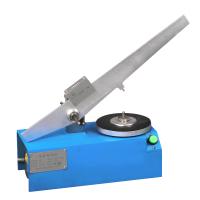
I. Overview:
The scratch Tester is carefully designed and manufactured by our company according to the relevant regulations in GB/T15102 "Impregnated Adhesive Film Paper Veneer Wood-based Panels" and GB/T17657 "Test Methods for Physical and Chemical Properties of Wood-based Panels and Finished Wood-based Panels". This Tester is suitable for testing the surface scratch resistance of various wood-based panels and decorative wood-based panels. The instrument adopts a gear reducer with a large speed ratio and a large output torque to ensure a constant rotation speed of the turntable under different test loads, so that the test results have high accuracy. All parts of the scratch Tester produced by our company are installed in a wooden box with a handle, which has the characteristics of compact structure, small appearance and easy to carry.
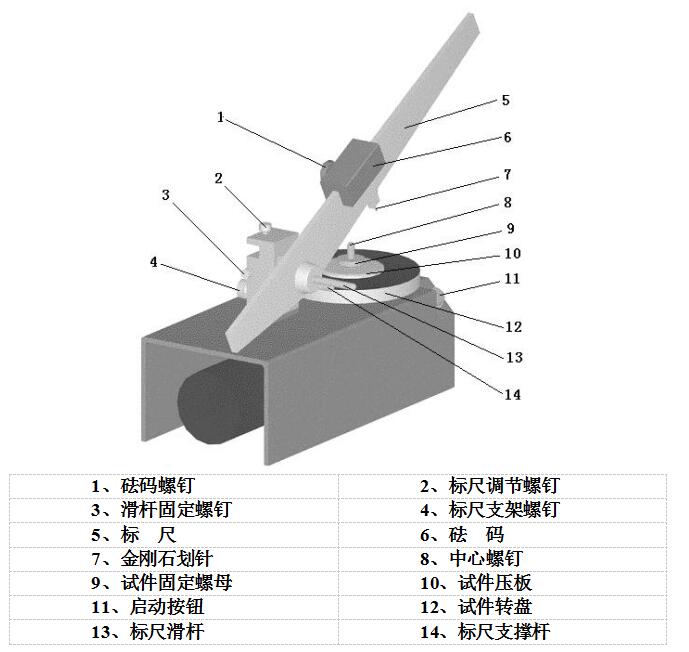
2. Main structure:
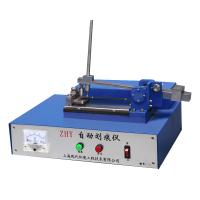
The HY-IV scratch Tester uses the principle of leverage. When the upper edge of the scale is at the horizontal position, move the weight above the scale to different scale values, so that the force of the tip of the diamond stylus on the surface of the plate to be tested can be compared with that of the scale. The scale values match. The rotating shaft of the scale is supported by ball bearings, which can rotate flexibly and reduce the frictional moment, so that the pressure applied to the tip of the diamond stylus has good repeatability, that is to say, the test results have good repeatability.
3. Main technical parameters:
1. Motor power: 6W
2. Turntable speed: 5±1r/min
3. Test plate size: length 100±2mm width 100±2mm thickness ≤10mm
4. Test load: 0~10 N
5. Power supply voltage: 220V AC 50Hz
6. Dimensions: 430×230×200 (length×width×height)
7. Weight: about 15kg
4. Operation steps:
1. Preparations before the test: (see Figure 1)
⑴ Put the instrument on a stable and flat test bench, the operator is facing the instrument, and then open the wooden box of the instrument.
⑵ Loosen the fixing screw of the slide bar; take out the scale slide bar (with scale) and scale support rod (without scale) from the accessory box, and insert them into the holes on the left and right of the scale bracket respectively (insert the flat end of the scale slide bar into the hole). ); when the full-circle engraved line at the end of the scale slide rod just emerges from the back of the scale bracket, tighten the slide bar fixing screw to fix the scale slide bar, and the scale support rod can slide freely in the hole.
⑶ Remove the scale from the scale bracket, with the graduated side facing the operator, align the bearing hole in the middle of the scale with the scale slider, and insert it into the hole.
⑷ Lift the right end of the scale, pull out the scale support rod, put down the scale, and make the scale rest on the scale support rod. (As shown on the cover image)
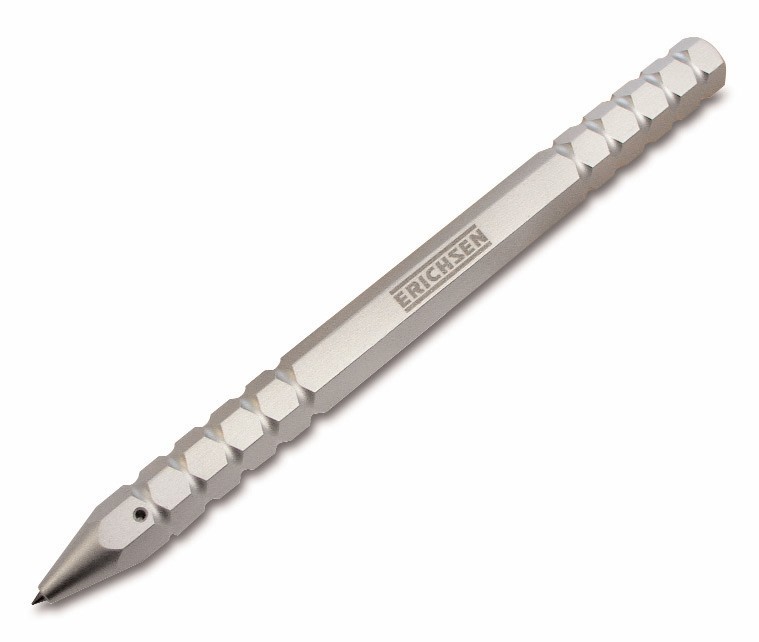
(5) Take out the diamond stylus, insert it into the hole in the center of the protrusion in the middle of the scale, and fix it with the set screw on the right.
⑹ Insert the power plug into the power socket on the wall, and turn on the power.
2. Run:
⑴ Process the plate to be measured to the size specified in the standard (thickness shall not exceed 10mm), and drill a 7mm hole in its center.
⑵ Unscrew the fixing nut of the test piece, remove the pressure plate of the test piece, place the processed plate to be tested on the test piece turntable with the tested surface up, put the center hole on the center screw, put the pressure plate on the test piece, and tighten the test piece Fix the nut.
⑶ Push in the scale support rod, put down the scale, and make the tip of the diamond stylus stand on the surface of the plate to be tested.
⑷ Loosen the screws of the scale bracket.
⑸ Turn the scale adjustment screw to adjust the scale to the horizontal position. (Observe the level on the upper end of the weight, make the air bubble between the two marked lines in the center, then the scale is in the horizontal position.)
⑹ Tighten the screws of the scale bracket.
⑺ Loosen the weight screw, move the weight to the required load scale* (align the right edge of the weight with the scale), and tighten the weight screw.
⑻ Press the start button and hold it for 2 seconds, the test piece turntable starts to rotate, and stops after one rotation, remove the test piece and observe the scratches on the surface of the test piece.
⑼ After all the tests are over, remove the parts of the instrument and put them back to the original place, and cover the wooden box cover to protect the cleanliness of the instrument.
———————
* The specific load size should be implemented in accordance with the provisions of 6.3.10.4.2 in GB/T 15102-94, or in accordance with the relevant provisions of the enterprise standards for the plate.
** The observation method should be carried out in accordance with the provisions in 6.3.10.5 of GB/T 15102-94, or in accordance with the relevant provisions in the enterprise standards of the plate.
Appendix A
Provisions on Scratch Tester in National Standard GB/T 15102-94
…………
6.3.10 Test method for surface scratch resistance
6.3.10.1 Principle
Surface scratch resistance is to test the ability of the surface decoration layer of the product to withstand the surface scratched by a diamond needle under a certain force.
6.3.10.2 Instruments
The schematic diagram of the scratch Tester is shown in Figure 7. (picture omitted)
6.3.10.3 The test piece shall be prepared according to the provisions in 6.3.1. (It is stipulated that the length and width of the test piece are both 100mm)
6.3.10.4 Test procedure
6.3.10.4.1 Clean the surface of the test piece, and fix the tested surface upward on the stage of the scratch Tester. Adjust the height of the beam so that when the diamond tip touches the surface of the test piece, the upper edge of the beam is in a horizontal position.
6.3.10.4.2 Move the weight to the position of 1.5N, start the stage to rotate, and make the diamond needle scratch a circle on the surface of the test piece.
6.3.10.4.3 Take down the test piece and observe the condition of the scored part of the test piece.
6.3.10.5 Result presentation
At a distance of about 40cm from the surface of the test piece, observe from any angle whether there is a continuous scratch in the scratched part of the surface of each test piece.
6.3.10.6 Result Judgment
All three test pieces can be judged as qualified if there are no continuous scratches in the whole circle.