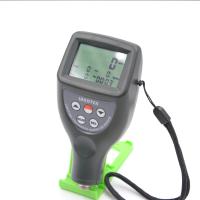
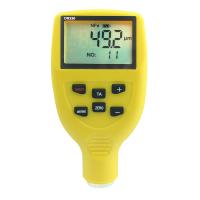
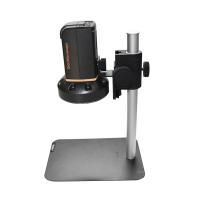
Metallographic thickness measurement uses the method of preparing metallographic samples to obtain the cross-section of the coating, and directly measures the local thickness and average thickness of the metal coating or chemical protection layer under a metallographic microscope .
The metallographic method has high measurement accuracy and good reproducibility. However, this method is complicated to operate and requires certain techniques and equipment. Therefore, it is generally not used for workshop production inspection.
This method is suitable for measuring the thickness of various metal coatings and chemical protective layers above 2 μm. When the thickness is greater than 8μm , it can be used for referee inspection. The measurement error is generally ±10%. When the thickness is greater than 25μm , make the error within 5%. It can also measure thin coatings, accurate to ±0.8μm.
1. Instrument
Use calibrated metallurgical microscopes of various types with screw-running micrometers or eyepiece micrometers.
2. Sample preparation
Generally, the sample can be cut from one or several places on the main surface of the part. After mounting, the cross-sections are properly ground , polished and etched. The commonly used etchant is shown in Table 7-2-7.
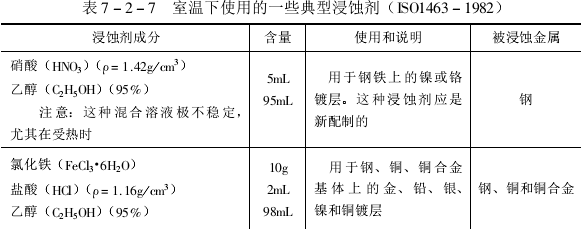
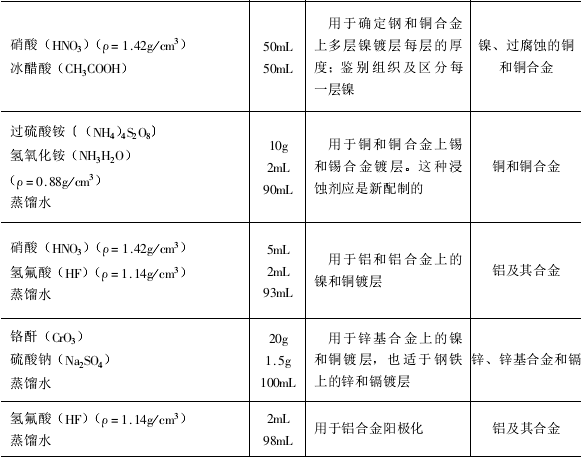
After the etching is completed, the sample is first rinsed with water, then washed with alcohol, and quickly dried with hot air. Samples of chemical protection layers (such as aluminum oxide film) do not need to be etched.
3. Determination
Use a metallurgical microscope with a screw traveling micrometer or an eyepiece micrometer to measure according to the instrument operating procedures.
Measuring instruments should be calibrated at least once before and after the measurement. Both calibration and coating measurements shall be performed . The stage micrometer and plating should be placed in the center of the field of view. Each measurement is the average of at least three readings at the same location . If the average thickness needs to be measured, 5 points shall be measured within the entire length of the mosaic specimen, and then the average value .
When using this method, the measurement error of coating thickness generally increases with the decrease of magnification. Therefore, the magnification should usually be selected so that the diameter of the field of view is 1.5 to 3 times the thickness of the coating.

