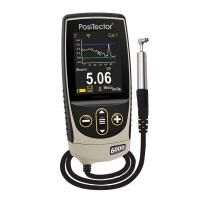
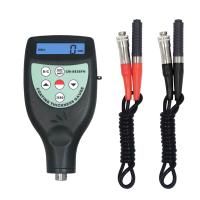
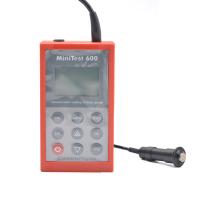
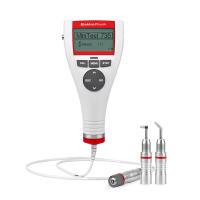
Coating thickness measurement methods mainly include wedge cutting method, optical section method, electrolysis method, thickness difference method, weighing method, X-ray fluorescence method, β-ray backscattering method, capacitance method, magnetic measurement method and eddy current measurement method, etc. .
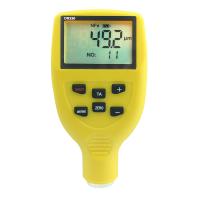
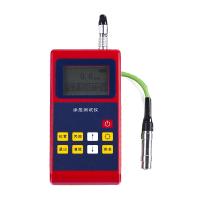
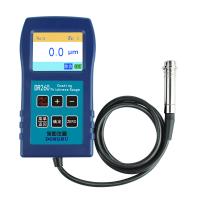
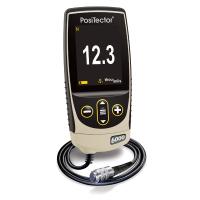
Wedge cutting method, optical section method, electrolysis method, thickness difference method, and weighing method are destructive testing, that is, the coating needs to be destroyed during measurement, and the measurement methods are cumbersome and slow, and are mainly used for sampling inspection. Both X-ray and β-ray methods are non-contact and non-destructive measurements, but the measuring devices are complicated and expensive, and the measuring range is also small. Because radiation requires a radioactive source, it is also necessary to comply with radiation protection regulations. The X-ray method can measure extremely thin coatings, double coatings, and alloy coatings; the β-ray method is suitable for the measurement of coatings and substrates with atomic numbers greater than 3. The scope of application of the capacitance method is very limited, and it is only used when measuring the thickness of the insulating layer of a thin conductor. With the increasing progress of science and technology, especially the introduction of microcomputer technology in recent years, the magnetic and eddy current Thickness Gauges are developing in the direction of miniature, intelligent, multi-functional, high-precision and practical. At present, the measurement resolution of magnetic and eddy current Thickness Gauges has reached 0.1 μm, and the accuracy can reach 1%, which has been significantly improved.
Magnetic and eddy current Thickness Gauges are widely used in industry and scientific research because of their wide application range, wide measuring range, easy operation, low price, and non-destructive testing. The non-destructive method is used to detect the thickness without destroying the coating or the substrate, and the detection speed is fast, so that a large number of detection work can be carried out economically. Remember: the method of non-destructive testing thickness can be applied to the production site for quality control.
For more details, please refer to the full text of "Selection and Application of Paint Film Thickness Measuring Instruments on the Painting Production Site" (Zhang Rui, Zhang Yuefu)

