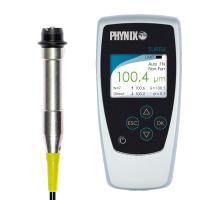
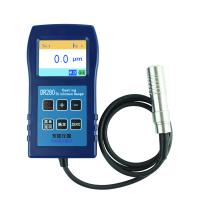
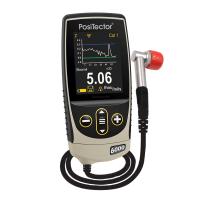
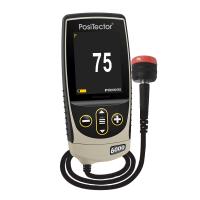
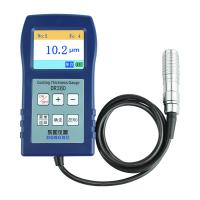
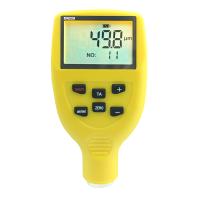
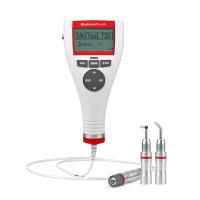
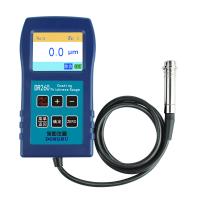
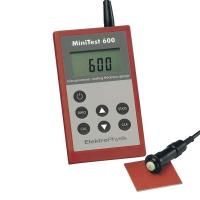
Even with the same coating Thickness Gauge, there may be large differences in the data measured by different people or on the same coating on different types and states of substrates. This is because of the measurement personnel factor, the substrate material of the paint film , thickness, surface condition and measurement position. Therefore, when using a Thickness Gauge to detect coating thickness, not only the operation method must be correct, but also need to be adjusted for the specific substrate.
Carefully read the instruction manual of the instrument before use
Instruments of different manufacturers and brands are different in terms of structure, keys, and calibration. Therefore, it is necessary to read the instruction manual of the instrument carefully before use to avoid errors in measurement data caused by misoperation.
Pay attention to the metal base material
The magnetism and conductivity of different metal matrix materials are different, which will affect the measurement results [9]. The thickness measurement by the magnetic method is affected by the magnetic change of the base metal (in practical applications, the magnetic change of low carbon steel can be considered slight), in order to avoid the influence of heat treatment and cold working factors, it should be used Calibrate the instrument with the standard sheet, or use the sample to be coated for calibration. Due to the different composition and heat treatment method of the base metal, the electrical conductivity is different. Therefore, the standard sheet with the same properties as the base metal of the test piece should be used to calibrate the instrument.
Pay attention to the shape of the test piece
In actual production, there are differences in the material thickness, shape, surface roughness, etc. of the workpiece, and these differences will affect the actual measurement results. Each instrument has a critical thickness of the base metal. If the thickness is greater than this, the measurement will not be affected by the thickness of the base metal. If the thickness of the specimen material is less than the critical thickness required by the instrument, the test result will be different from the actual thickness. Some instruments are very sensitive to the sudden change of the surface shape of the specimen, so the value measured near the edge or inner corner of the specimen will be unreliable, and the actual measurement should be selected away from the edge and inner corner. The surface of the specimen not only has a sharp change in shape, but also may have different curvatures. The measurement results of some instruments always increase significantly with the decrease of the radius of curvature. Therefore, even if the minimum radius of curvature is considered when selecting the instrument, the measurement should still be performed on a plane as much as possible.
The above is also the reason why the minimum radius of curvature, minimum measurement area, and minimum substrate thickness need to be considered when selecting a thickness measuring instrument.
In addition, in actual production, the surface roughness of different workpieces is also different. The greater the roughness, the greater the effect on the measurement results of some instruments. Rough surface will cause systematic error and accidental error, and the number of measurements should be increased at different positions for each measurement to overcome this accidental error. This point is not pointed out in the instrument manuals of many manufacturers. We use domestic and imported Thickness Gauges to measure the surface after shot blasting after calibration on the plane, and the readings range from 10 to 30 μm. That is to say, if this method is used, the measured data will be 10 to 30 μm larger than the actual thickness of the paint film, that is, the actual thickness of the paint film cannot meet the design requirements. Therefore, if the base metal is rough, it is necessary to take several positions on the uncoated base metal test piece with similar roughness to calibrate the zero point of the instrument; or use a solution that does not corrode the base metal to dissolve and remove the coating, and then Calibrate the zero point of the instrument. Of course, when the paint film thickness is 5 to 6 times the surface roughness of the substrate, the roughness can be ignored. In short, the calibration of the instrument needs to be carried out according to the surface roughness of the coated workpiece on site.
Detection environment
The strong magnetic field generated by various electrical equipment around will seriously interfere with the magnetic thickness measurement work, so try to stay away from the strong magnetic field environment when using it.
operate
Some instruments are sensitive to the attached substances that prevent the close contact between the probe and the surface of the paint film. Therefore, it is necessary to remove the attached substances to ensure that the probe of the instrument is in direct contact with the surface of the test piece. The amount of pressure exerted by the probe on the test piece will affect the reading of the measurement, so keep the pressure constant. The placement of the probe also affects the measurement. During the measurement, the probe should be kept perpendicular to the surface of the sample. In addition, usually the readings of the instrument are not exactly the same each time, so it is necessary to read several more numbers in each measurement area. Local variations in film thickness also require multiple measurements in any given area, especially if the surface is rough.
For more details, please refer to the full text of "Selection and Application of Paint Film Thickness Measuring Instruments on the Painting Production Site" (Zhang Rui, Zhang Yuefu)

