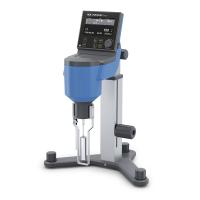
The installation method of the Brookfield DV-1 Rotational Viscometer in the United States is as follows:
1. Assemble the G-shaped bracket
2. Mount the viscometer on the stand.
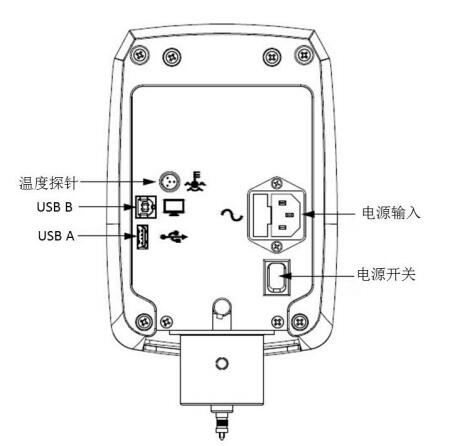
3. Connect the RTD temperature probe to the socket on the rear panel of the DV1.
4. The viscometer needs to be placed horizontally. Use the two leveling screws on the base to adjust the level so that the bubble level is inside the circle.
5. Remove the shipping cap protecting the union nut from the viscometer. For cone/plate viscometers, hold the sample cup while rotating
Pull the rod to separate it from the base. Lower the sample cup and remove foam from inside. (Guaranteed transportation safety)
6. Optional: Apply the screen protector included in the instrument package.
7. Make sure the AC power switch on the rear panel of the DV1 is turned off. Connect the power cord to the connector on the back of the instrument and plug into a suitable AC power source. For cone/plate viscometers, ensure that the electronic batch is in the left-hand position. (to the left facing the viscometer)
8. Turn on the power switch and preheat the instrument for 10 minutes before the viscometer is automatically zeroed.
9. For cone/plate viscometers, refer to Appendix A.
10. If necessary, use a USB cable (DVP-202) to connect the DV1 to a PC or an optional Dymo 450 label printer. (As shown in the figure below, the USB B port corresponds to the PC; the USB A port corresponds to the Dymo 450 label printer)
Note: 1) DV1 needs to be grounded to ensure the safety of the instrument in case of power failure!
2) The level check must be done regularly during use.