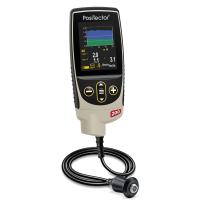
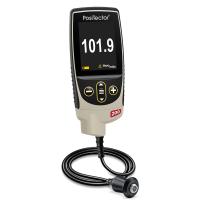
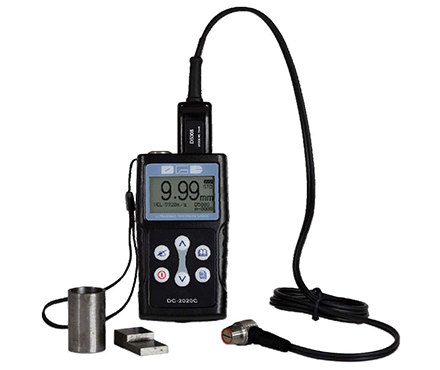
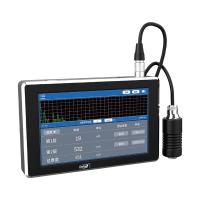
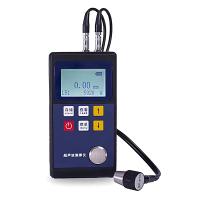
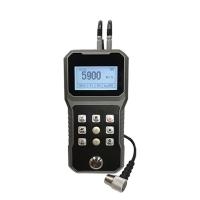
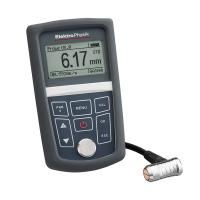
| Product Image |
|
|
|
| Brand model number | Shenyang Yushi Pioneer / PM-5DL model | US GE/CL5 model | American DAKOTA / PX-7DL |
| display screen | 2.4QVGA (320×240) color OLED screen, contrast ratio 10000:1 (high-definition color screen) | 64×128 pixel LCD screen (black and white screen) | 4.5-digit LCD display (black and white screen) |
| Measuring mode and measuring range (material is steel) | The same probe can have the following four modes of measurement range IE: pulse-echo method, range: 1.5mm-27mm EE: echo-echo method Range: 0.25mm-13.5mm ME-E: Multiple Wave Calibration Method Range: 0.25mm-9mm AUTO: Automatic mode Range: 0.25mm-27mm | The measurement range is related to the selected probe | The same probe I-E mode, E-E mode optional measurement range: 0.15 ~ 25.40mm |
| Measurement resolution | 0.001mm or 0.01mm or 0.1mm optional | 0.001mm or 0.01mm or 0.1mm optional | 0.001mm below 20.00mm; 0.01mm above 20.00mm |
| Repeat accuracy error | ±0.01mm | ±0.01mm | ±0.01mm |
| display mode | A-SCAN: You can view the measurement waveform in real time B-SCAN: Real-time B-scanning, displaying the profile of the workpiece | A-SCAN: You can view the measurement waveform in real time without B-scan function | No waveform viewing, B-scan function |
| Accessibility | Large thickness reading: (regular display view of thickness value) | Difference/reduction ratio, Min/Max capture No alarm setting | Alarm settings and differential mode settings without max/min capture |
| Measurement update rate | 4HZ, 8HZ, 16HZ per second optional | 4, 8, 32Hz per second optional | 4HZ, 16HZ per second optional |
| storage | 400 files, 100,000 thicknesses and 1,000 waveforms | Up to 120 files | Store 1000 measured thickness values |
| price | 19500 | 35000 | 16900 |
Function display of PM-5DL ultrasonic Thickness Gauge:
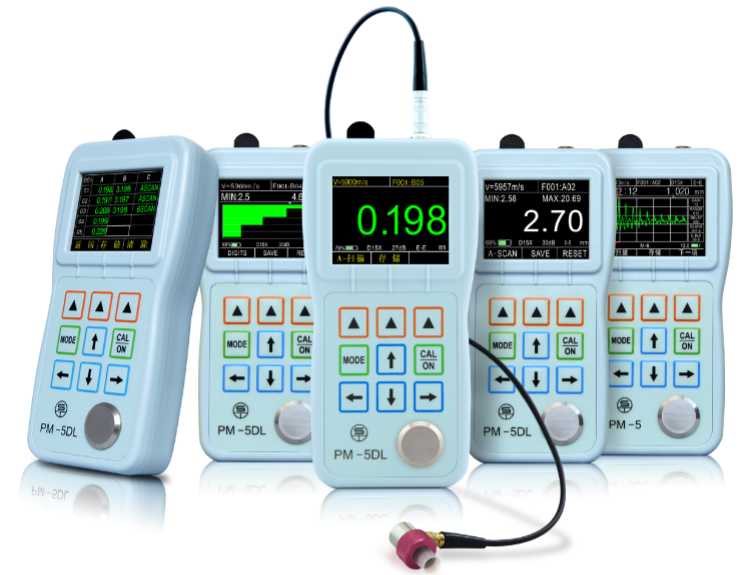
The picture shows from left to right: storage opening interface; B-SCAN scanning interface; measuring thickness interface; difference/reduction ratio interface; A-SCAN scanning real-time waveform interface;


