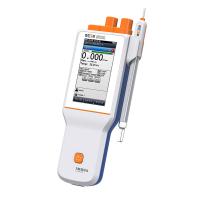
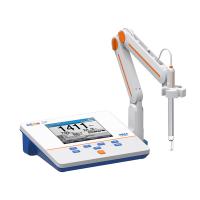
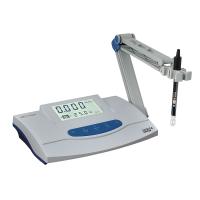
作为一名检查员,理解校准,认证和验证之间的差异非常重要,因为他们可以影响正确完成工作。由于容易混淆差异,让我们来看看它们是什么,不是。
这三个都与测量设备的精度有关。虽然它们适用于许多其他行业,但我们对它们与检测设备相关的方式感兴趣。
它们中的每一个都围绕着涉及工具本身的不同过程。但是,它们不可互换,并假设它们可能会导致问题。让我们看看每个过程的细节以及它们如何影响您的项目。
校准
ASTM D7091将校准定义为“在量具的整个工作范围内获得可溯源校准标准的测量的高级,受控和记录过程,然后According to需要进行必要的量具调整以纠正任何超出公差的条件“它继续指出,校准”是由设备制造商,其授权代理商或由认可的校准实验室在受控环境下使用文件化过程执行的。“
校准调整是调整工具的行为,通常使用标准来调整工具以正常工作。但是,所有的设备都应该带有工厂校准。工厂校准往往不是一个项目的充分文件。
许多项目需要可追溯的校准证书,可能会或可能不会提供。在校准证书中,设备可以附带合格证书,虽然不能追溯到NIST或其他标准,但声明该设备是制造的并且符合公布的规格。通常(但不总是),这将取代校准证书。
并非所有仪器都可以在现场进行校准。电子干膜厚度计,表面轮廓仪,UT仪表,电导率仪和pH计都是由用户校准以及一些露点仪。其他仪表具有固定的校准,不能在现场或用户进行校准。这些包括香蕉测量仪,许多露点测量仪器,附着力和度假测试仪。
“当你校准一个工具时,你正在调整它以最大化精度。”
每种仪器都有其独特的校准方法,您应该始终遵循产品的制造商和他们的指示进行适当的校准。大多数制造商制定他们自己的标准来校准他们的仪器,他们通常经过NIST(美国国家标准与技术研究院)的认证。
有些标准由NIST制定,可用于校准。有例外情况,请与仪器制造商联系。大多数标准都可以用于任何制造商的仪器。
确保您选择的标准与您选择的设备兼容并匹配适当的基材。标准的准确程度也会有所不同,所以在选择下一个项目的标准之前,请理解这一点。
Accreditation
Accreditation is a separate process from calibration and verification and is usually a program requirement. It doesn't save the inspector from calibration adjustments or verifications, but it's a step above them.
"Certification is a separate process from calibration and verification, which is usually a program requirement."
Typically, calibration needs to be provided by a third party and done against a given calibration standard, usually traceable to NIST. NIST does not provide a time interval for recertification and leaves time between certification and the user's quality control program. Most manufacturers recommend annual certification
Traceability is the ability to follow measurements through an unbroken chain of comparisons, all the way back to fixed international or national standards that are generally accepted as correct. The chain usually consists of multiple appropriate measurement standards, each of which has a value with higher accuracy and lower uncertainty than its successor.
Certification is verified by a third party to ensure that the instrument is reading standards correctly and following those instrument procedures recommended by the manufacturer.
Devices can be certified by the manufacturer or by a qualified third party. MTest certifies most of the instruments we sell and provides a one day turnaround time. Some instruments need to be sent out for certification.
"My personal opinion, which is why you're reading this, verification is more important than certification."
Validation
is my personal opinion, that's why you are reading this, validation is more important than validation. As mentioned earlier, not all instruments can be calibrated in the field. This does not relieve the inspector from verifying that the instruments used are accurate.
A typical example is the use of a banana gauge (Type 1 DFT Thickness Gauge). Inspectors should not alter the factory calibration, but are required to verify the accuracy of the instrument before use. Also, while calibration is not possible, the meter's accuracy can be improved by taking a reading of the magnetic base before use. See Coating Inspection Manual for details.
If I were an inspector, I should be more concerned with having the meter properly verified and/or calibrated before use than with existing calibration certificates. Certification only means that the meter is accurate when it is certified, not when it is used.
Over-reliance on calibration certificates is a scourge to our industry. A piece of paper does not mean the meter will function properly or be calibrated correctly when in use. If the instrument can be verified before use, make sure it is


