Test Principle
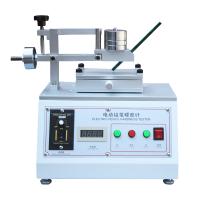
The Wolff/Wilborn pencil test uses a constant pressure and variable hardness graphite lead as its basic principle. Beginning with the hardest lead, pencils of varying hardness are moved across a surface at a fixed angle of 45 degrees to the surface under a fixed pressure of 7.5 Newtons (765g ± 2%).
The hardness of the pencil that damaged the surface was calculated as a measure of scratch hardness. Under ASTM, fourteen pencil leads in the range 6B to 6H are used. (7H, 8H and 9H sold separately.) Pencil lead can be changed quickly and easily. Test methods are fully described in ASTM D3363-92a and ECCA T4 (1984).

Instructions for use
The test surface needs to be properly prepared according to the specifications used. In all cases it needs to be flat and smooth. Testing should be performed at 73°F±4°F (23°C±2°C) with a relative humidity of 50±5% (ECCA; T4) or 73.5°F±3.5°F (23°C±2°C ) °C) and 50±5% relative humidity (ASTM D3363). A wear strip of 6 x 1" 400-grit sandpaper is provided for fine finishing in accordance with ASTM D3363.
Choose the hardest pencils or wooden pencils.
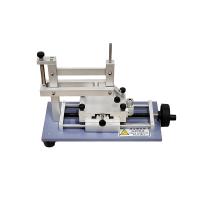
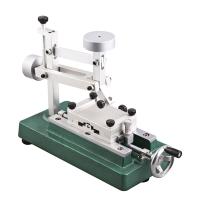
Put the wire into the bracket. For wood pencils, use a sharpener to remove about 3/16 to 1/4 inch (5 to 6 mm) of the wood from the pencil. Load the pencil into the upright alignment tool. Using the pencil align tool 90° to the sandpaper, rotate until a flat, smooth and round cross-section is obtained with no chips or nicks at the edges of the cross-section. (figure 1)
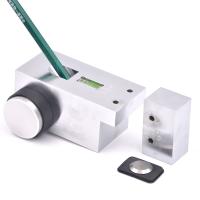
To set the proper pencil depth, carefully place the Tester upright (Figure 2) on a flat, stable substrate, such as a granite surface plate, taking care that the Hardness Tester does not tip over.
Insert the repaired pencil until it rests on the substrate. Tighten the knurled set screw to secure the pencil in place.
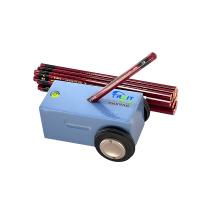
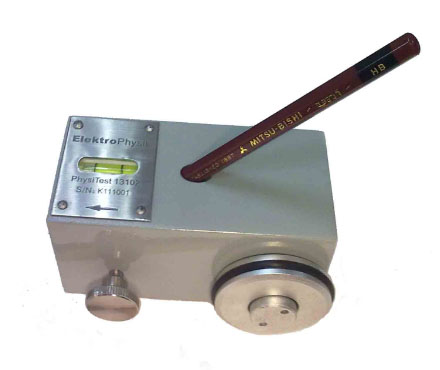
Place the gauge on the test surface and push forward approximately 1/4 - 1/2" (6 - 12mm). Make sure to secure the gauge by the hub.
Check the coating for indentations or scratches. Continue this process until you find that the pencil/lead will not cut or scratch the surface of the film/coating.
Reports the hardest pencil/pencil that won't crack or scratch the film.