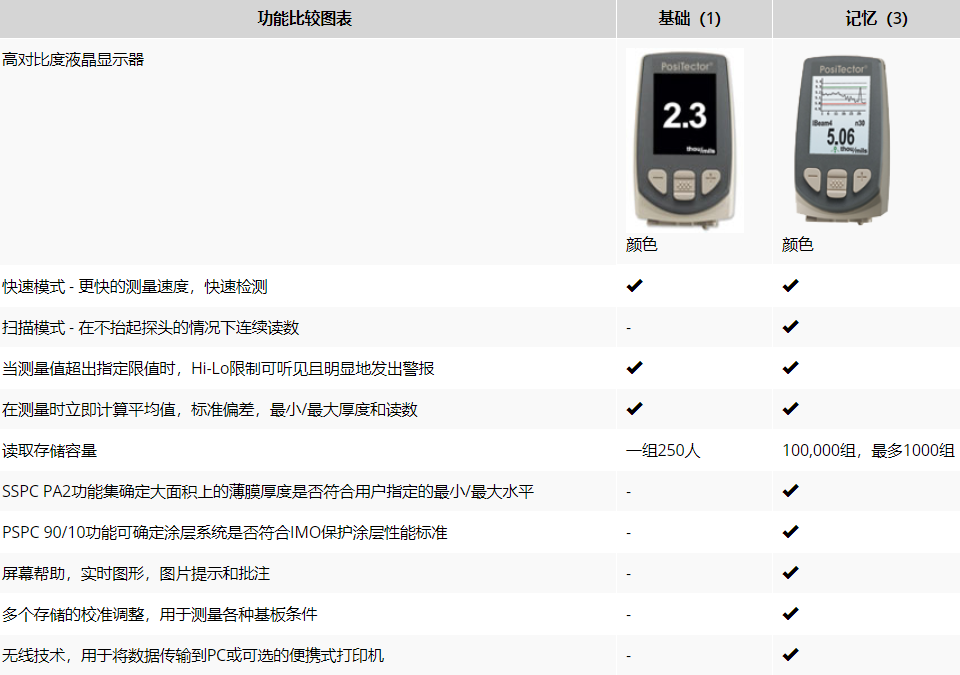
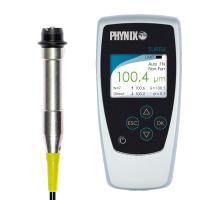
Is the PosiTector 6000 factory calibrated?
When fully calibrated, the PosiTector 6000 instrument includes a long-form calibration certificate traceable to NIST or PTB. A calibration certificate documents the actual readings taken by your instrument in our calibration laboratory against standards traceable to national metrology institutes. Beware of "certificates" or "certificates of conformity" offered by competitors. These usually do not include actual instrument readings and are often insufficient to meet common quality requirements.
Does the PosiTector 6000 need to be "calibrated" or "adjusted" before use? Do I need to make a two point adjustment before measuring?
The innovative probe technology and factory calibration in the PosiTector 6000 means it is ready to measure - often without the need to perform two-point calibration adjustments. Ruby or alumina probe tips on standard probe models eliminate wear and tear, meaning factory calibration is maintained throughout the probe's lifetime. The PosiTector 6000 will continue to deliver accurate results right out of the box and after years of use.
For high confidence and very good measurement accuracy, follow our "golden rule" - simply check the zero on the uncoated part (or the known thickness of the shim), adjust if necessary, and Measure coated parts. This ensures proper tuning of the probe for substrate properties including quality, metallurgy, curvature, temperature and roughness.
Does your instrument require formal training to use it? Do you offer 'demo' models?
No. Our instruments are designed simply, with easy-to-use menus, full and quick instruction manuals, and helpful videos. In lieu of a demo model, we offer unlimited technical support by phone and/or email with a limited 30-day money-back guarantee.
How often should the PosiTector 6000 be recalibrated?
PosiTector 6000 probes include a calibration certificate with no expiration or end date. They have no shelf life, so the length of time in the field is not a good indicator of recalibration intervals. Many organizations with quality programs and recertification programs require annual recalibration, which is a good starting point for most users. The manufacturer recommends that customers establish calibration intervals based on their own experience and work environment. Based on our product knowledge, data and customer feedback, a one-year calibration interval from the date the instrument is placed into service is a good starting point.
What can the PosiTector 6000 measure?
PosiTector 6000 probes have different capabilities depending on the model.
- 'Ferrous' model probes (order codes starting with 'F', FS1 onwards) can measure non-magnetic coatings applied to ferrous (magnetic) metals (usually carbon steel).
- Non-ferrous" model probes (order codes starting with 'N' ex.NRS3) allow measurement of non-conductive coatings applied to non-ferrous metals.
"Combination" model probes (order codes starting with 'FN', e.g. FNTS1) can measure non-magnetic coatings applied to ferrous (magnetic) metals, and non-conductive coatings applied to non-ferrous metals
Is the metal substrate beneath the PosiTector (profile) coating affected by surface roughness?
All coating Thickness Gauges are affected to some extent by the roughness of the substrate, as shown in the figure below. It is generally accepted that coating thickness should be measured from the highest "peaks" in rough surfaces to ensure they are covered by the protective coating. However, the coating Thickness Gauge will instead measure the coating thickness from the effective magnetic plane, which is somewhere between the highest peak and deepest valley of the profile.
SSPC-PA 2 proposes several solutions depending on the instrument type and the specific situation. ASTM D7091 and ISO 19840 suggest a similar approach. One option is to verify that the gage reads zero on the uncoated steel substrate and adjust to zero if necessary. This is a popular solution when the metal surface is relatively smooth.
Since it is difficult to ensure that the probe tip is on the highest peak of the surface profile, another option is to place a plastic shim of known thickness that approximates the expected thickness of the applied coating between the probe and the substrate, and adjust to the pad The specified thickness of the sheet - called 1-point adjustment. The plastic spacer sits on the peak of the surface profile and is larger than the probe tip, ensuring that the adjustment is "on the peak". This better simulates coatings that cover surface profile peaks.
Can the PosiTector 6000 measure stainless steel coatings?
The term "stainless steel" is often used to classify various corrosion and heat resistant alloys. In a specific aspect of metallurgy, "stainless steel" is any iron-based alloy containing a minimum chromium content of 10.5% by mass. Some stainless steel alloys have relatively low magnetic response (commonly referred to as "partial/weak magnetic"). Others don't have any magnetic response, and some have a ferromagnetic response similar to carbon steel.
The PosiTector 6000 is uniquely capable of measuring partially magnetic stainless steel alloys, an application that is challenging for many competing instruments. PosiTector 6000 FN (Combined Ferrous/Non-Ferrous) probe models typically allow for consistent zero adjustment on partially magnetic substrates. For more challenging applications, the "N-Lock" measurement mode allows precise measurement of non-conductive coatings applied to partially magnetic substrates.
Can the PosiTector 6000 measure coatings on hot surfaces?
The PosiTector 6000 FHXS Xtreme is ideal for measuring coating thickness on hot and/or rough surfaces (250°C, up to 500°F). All PosiTector 6000 probes are capable of measuring on hot surfaces. Standard probe models can operate in environments up to 50˚C (120˚F). However, measurements can be made at higher temperatures if the probe is lifted off the surface after taking a reading and allowed to cool. Just make sure the probe is kept below 50˚C (120˚F) and cool enough to handle with unprotected hands.
What is the minimum part size required for reading?
To ensure that the part is sized for the PosiTector 6000 probe, simply check the ZERO on the uncoated part and adjust as necessary. Accuracy is verified by measuring plastic shims placed on uncoated parts. The probe is suitable for measuring coated parts if the measured value is within the combined tolerance of the gasket and probe.
Can the PosiTector 6000 be used underwater?
While the PosiTector gauge body and probe connector are not suitable for submersion in water, the PosiTector 6000 conventional cable probe is sealed and ideal for underwater use. Extension cables (up to 75m/250ft) are available for underwater or remote measurements.
Is the PosiTector 6000 intrinsically safe?
While the PosiTector 6000 is not designed to be an intrinsically safe device, our PosiTest mechanical gauges are ideal for measuring coating thickness in hazardous operating environments.
Can the PosiTector 6000 measure nickel on steel?
Yes, but it depends on the specific type of nickel coating that has been applied to the steel.
- When nickel plating is deposited by the electrolytic process (using an electric current in a nickel bath), the resulting coating - often referred to as "electronic nickel" - is always somewhat conductive and magnetic and fails our accurate Measure gages for ferrous or non-ferrous metals.
- Electroless nickel coatings are deposited by an autocatalytic process that does not involve the addition of electrical current. If the nickel bath in the process contains a minimum concentration of ~8% phosphorus, the resulting nickel deposits are practically non-magnetic and can be accurately measured on ferrous steel using a magnetic principle coating Thickness Gauge such as the PosiTector 6000 F model its thickness.


