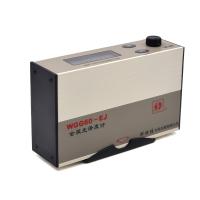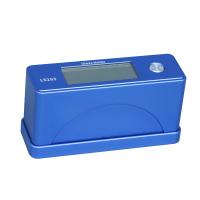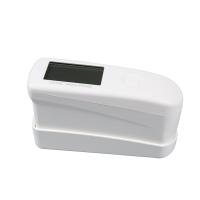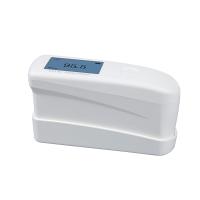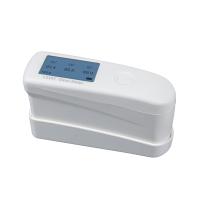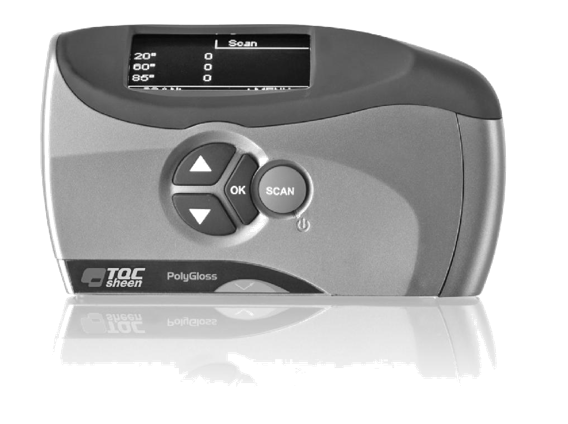
Calibration consists of determining the Glossmeter's metrological characteristics. This is done by comparing the gloss values of black glass in the calibration holder.
You should check the condition of the calibration holder and the optical lenses before calibrating the device.
The calibration holder and the optical lenses must be clean and in pristine condition. Grease and dust can be removed with clean, dry air or the supplied cleaning cloth. The device cannot measure surfaces accurately if the lenses are permanently damaged. The TQC Sheen Glossmeter cannot be calibrated if the calibration holder is damaged.
Procedure
1.Place the TQC Sheen Glossmeter in the calibration holder.
2.Select Setup in the main menu.
3.Select Calibration and press OK.
The Calibration menu contains the following options:
•Calibrate
•Calbr. Values
Calibrate
To calibrate:
1.Use the arrow buttons to select the Calibrate option.
2.Press OK. The message “Calibration successful” displays.
3.The only option is BACK.
4.Press OK to display the Calibration menu.
Calbr. Values
To prevent measurement deviations caused by a calibration error, the TQC Sheen Glossmeter must always be calibrated with the same holder. The calibration values can be adjusted if a different calibration holder is used:
1.Use the arrow buttons to select Cabr. Values.
2.Press OK to display a list of calibration values for each scan angle.
3.Use the arrow buttons to select the scan angle for which you want to adjust the standard calibration values.
4.Press OK. The scan angle and the previous standard value are displayed. The digit after the comma is selected.
5.Press the arrow buttons to adjust the digit in groups of 10.
Note: The calibration values are in the calibration holder next to the glass plate.
Calibration consists in determining the metrological characteristics of the Glossmeter. This is done by comparing the gloss value of the black glass to the calibration holder.
You should check the condition of the calibrator and optics before calibrating the device.
Calibration mounts and optics need to be clean and in pristine condition. Grease and dust can be removed with clean, dry air or the provided cleaning cloth. The device cannot accurately measure the surface if the lens a is permanently damaged. If the calibrator is damaged, TQC's gloss meter cannot be calibrated.
program
1. Put TQC's gloss meter in the calibration rack.
2. Select Installer from the main menu.
3. Select Calibrate and press OK.
The Calibration menu contains the following options:
•calibration
•Calbr. value
calibration
calibration:
1. Use the arrow buttons to select the calibration option.
2. Press "OK". The message "Calibration successful" is displayed.
3. The option is back.
4. Press "OK" to display the calibration menu.
Calbr. value
In order to prevent measurement deviation caused by calibration errors, TQC's gloss meter needs to be calibrated with the same holder all the time. Calibration values can be adjusted if one differs using the nt calibration stand:
1. Use the arrow buttons to select Kaibo. value.
2. Press "OK" to display a list of calibration values for each scan angle.
3. Use the arrow buttons to select the scan angle whose standard calibration value you want to adjust.
4. Press "OK". Displays the scan angle and the last standard value. Select the number after the comma.
5. Press the arrow buttons to adjust the numbers in groups of 10.
NOTE: Calibration values are on the calibration stand next to the glass PLA.

