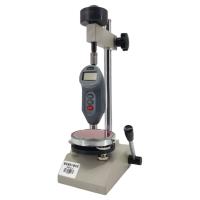
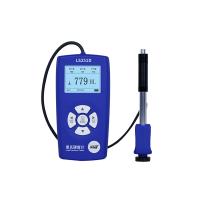
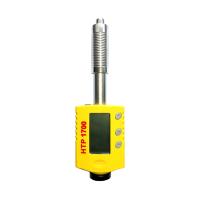
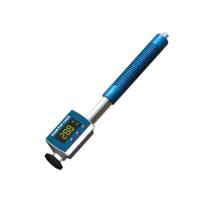
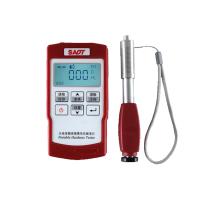
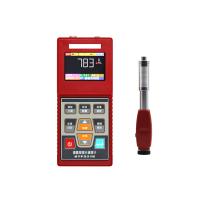
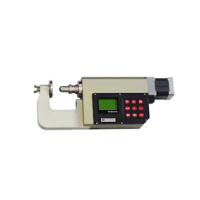
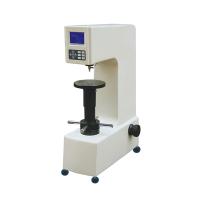
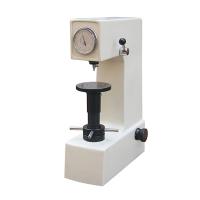
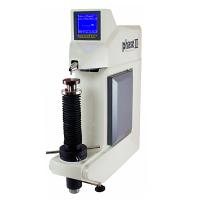
Simply put, the Rockwell hardness test is a method of measuring the hardness of a material. The Rockwell hardness scale is commonly used to characterize the hardness of metals such as thin steel, cemented carbide, lead, aluminum, zinc, copper alloys, titanium, and iron. But the scale can also be used to test certain plastics.
The hardness indicated by the Rockwell hardness refers to the resistance to penetration. The test is named after Stanley P. Rockwell, who designed the test and the original machine, later selling the rights to them. The test was first performed in 1919.

How the Rockwell Hardness Test Works
The Rockwell hardness test measures hardness in a simple way: by pressing an indenter into the surface of a material under a specified load and then measuring how far the indenter is able to penetrate. In most cases, the indenter is made of steel balls or diamond.
But of course, the reality is much more complicated because the metal samples vary a lot. As a result, the same method cannot be used for all samples. In fact, there are 30 different Rockwell scales. Each uses a different combination of test force and indenter type. When selecting an appropriate scale for a metal sample, the evaluator should consider the size and shape of the test material, its homogeneity, and the limitations of each scale.
While there are many Rockwell tests, the common tests for the hardest materials are Rockwell and RockwellC. When the material is very thin, lighter loads need to be used: Rockwell 30T, 1ST, Rockwell 15-N and 30-N scales. As can be seen from these measurements, Rockwell hardness numbers have prefixes that distinguish the Rockwell hardness scales in relation to the combination of load and indenter.
There are conversion tables that can convert from one hardness method to another, but it needs to be remembered that these conversion tables will not accurately convert from one method to another.
Most people looking at Rockwell hardness test results are unaware that there are many types of scales available. Therefore, they may not understand that conversion charts are not entirely accurate. That's because Rockwell measurements don't have units. As Sizes.com explains, "The symbol is HR, followed by a letter, denoting one of many possible scales. For example, 'HRC 96' means 96 on the Rockwell C scale."
Comparable range of Rockwell hardness
Rockwell scale has been compared with Mohs test and Brinell scale. Developed in 1910 by Swedish engineer Johann A. Brinell, the Brinell scale works as follows. A load is applied to a hardened steel ball resting on the metal surface to be tested. After that, the diameter of the formed dent was evaluated.
According to Sizes.com, hardness is measured using the following formula: "The Brinell number, which indicates the hardness of a metal, is the load on the ball in kilograms divided by the spherical surface area of the indentation in square millimeters."

