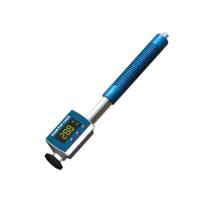
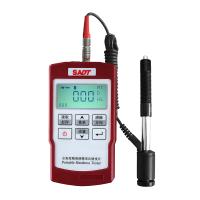
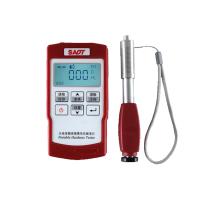
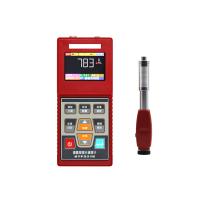
Bronze is an alloy of copper with 12-15% tin and other metals and metalloids such as zinc, nickel, manganese and aluminum. Bronze was one of the most widely used metals during the Bronze Age.
Bronze is available in different alloys, which can be classified into different types according to numerous criteria.
These are Silicone Bronze, Bismuth Bronze, Plastic Bronze, Commercial Bronze, Classic Bronze, Mild Bronze, Alpha Bronze, etc. Bronze has been used in many ways since prehistoric times.
It is widely used in coins, ships and ship accessories, propellers, bearings, sculptures, springs, automobiles, etc. Because of its versatility, its quality should be checked before use.
The hardness of bronze can be studied in many ways. The hardness of a metal is its own ability to resist indentation. The different methods used to assess the hardness of bronze are-

Rockwell hardness test
The Rockwell test was invented by Stanley.P.Rockwell and Hugh M Rockwell in the United States. Bronze hardness can be determined using the Rockwell method.
Many variations of this test exist. But the general principle is the same. In this method, an indenter is pressed against the surface of the metal to be tested with a defined force and the indentation is measured.
But in this case, the indenter used is a steel or diamond ball as compared to the carbide ball used for metal Brinell hardness testing.
Rockwell scales are represented as random dimensionless numbers, where the last letter describes the corresponding Rockwell scale, such as HRA, HRB, HRC, HRD, HRE, etc. According to the Rockwell scale, there are different types of Rockwell Hardness Testers.
Knoop hardness test
This is a micro-indentation test in which the force of the indentation does not exceed 1kgf. The principle of this test is similar to hardness testing of metals by other methods.
It uses a diamond indenter which indents the polished surface of the sample under a specified force.
The Knoop Hardness Number (KHN) is the ratio that can be calculated divided by the applied force divided by the unrecovered projected area. The value range is 100~1000.
It has several advantages such as higher precision, can be performed at microscopic level, fast output and low cost, and can also perform desirable properties of checking whether the sample under inspection has the desired purpose.

