Film thickness is an important type of measurement in many manufacturing and research organizations. Variations in paint or coating thickness can affect several properties that affect the final product, including color, gloss, hardness, adhesion, scratch resistance, and many others. In order to obtain the desired coating properties, the correct film thickness needs to be achieved. There are several methods of measuring film thickness during both wet and dry stages of application. Wet Film Thickness Gauges such as interchem and comb gauges can be used to measure the thickness of coatings before they cure. However, research and quality control departments often want to know the thickness of the cured coating.
Instruments for measuring dry coating thickness can be divided into two categories: destructive and non-destructive. Destructive film thickness testing involves cutting the coating through to the substrate, usually with the aid of a specialized blade, and viewing the layers under a microscope to determine thickness. The disadvantage of this method is obvious: the product needs to be destroyed in order to take measurements. Additionally, destructive film thickness measurements are typically more time-consuming than other types of thickness measurements. It is generally preferred to use a non-destructive method commonly referred to as a dry film thickness or DFT gauge. Most DFT gauges operate using one of two measurement principles that measure the thickness of thin films applied to metal substrates. The measuring principle used depends on whether the substrate is "ferrous" (meaning it contains iron and is usually magnetic, e.g. steel) or "non-ferrous" (meaning the substrate does not contain iron and is not magnetic, e.g. aluminum) . Dry Film Thickness Gauges are usually selected based on whether the substrate is ferrous or non-ferrous, and there are many gages available that incorporate both measurement principles for measurements on any type of metallic substrate.
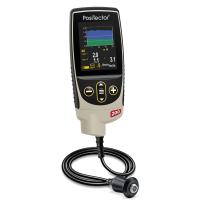
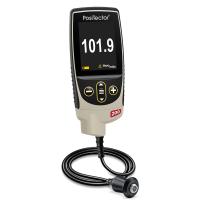
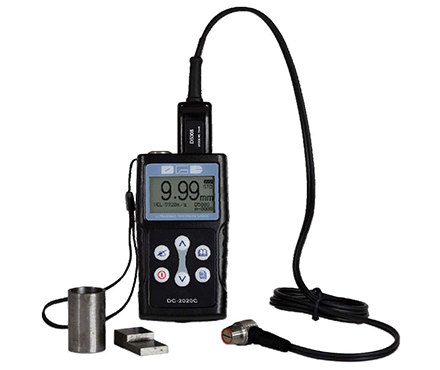
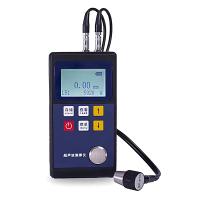
Measuring dry film thickness on non-metallic substrates such as plastics is much more difficult. To perform non-destructive film thickness testing on these types of substrates, other types of gages are required. The PosiTector 200 uses sound to measure dry film thickness. This is similar to sonar. Sound waves travel through the material, and the reflected sound waves are measured. Whenever a material of different density is encountered, the reflection changes, telling the gauge that it has reached the substrate or other type of coating. By using this measurement principle, the PosiTector 200 can measure film thickness on a wide variety of non-metallic substrates and, unlike typical DFT gauges, it can even differentiate between different coating layers, measuring the thickness of up to three layers at a time.

One such application involves automotive headlights. Apply a hard, protective clear coat to the clear plastic of the headlamp to protect it from weathering and abrasion. It cannot be overemphasized that the clear plastic needs to remain transparent so as not to block the beam of light. To achieve this, it is necessary to apply a clear coat at a prescribed thickness. Thick enough to retain the protective properties of the coating, but thin enough to keep the coating smooth and clear. Since this coating is applied on clear plastic rather than metal, typical DFT gauges are not suitable for this application. However, tests have shown that the PosiTector 200 is very effective at measuring the thickness of clear coats, alleviating the need to destroy the product in order to measure it. The instrument not only saves time by taking measurements faster, but also saves money by not wasting product.

