(1) Composition
1. Ontology
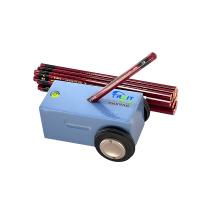
2. Hardness pencils 6H, 5H, 4H, 3H, 2H, H, F, HB, B, 2B, 3B, 4B (optional 12 pieces)
3. One horizontal board
4. eraser one

(2) Operation steps
1. Test piece production
Take a test piece with a size of 150*70*1mm, apply the sample on it, and place it in a drying box for 24 hours
(until dry).
2. Test start
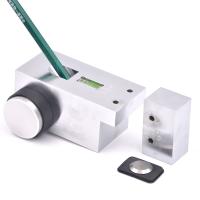
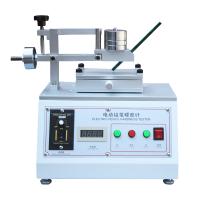
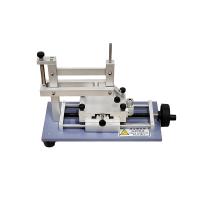
First place the test piece on the test piece platform, put CT-291 on it, then choose a suitable pencil, cut off the wooden part, so that the core is about 3mm long, take out the sandpaper and grind the pencil core on it, so that the front end is flat If the corners are sharp, insert the pencil into the 45-degree hole and lock it (put the level on the machine to make sure it is level). Move the right hand wheel in parallel for about 3-5mm (about 0.5cm per second) to remove the test piece and wipe it. clean. If there is no visual trace, then choose a hard pencil (if there is a scratch, choose a soft pencil), try it again, and so on.
3. Judgment method
The test of the above method can be judged according to two principles: a. no bracket b.
(3) Matters needing attention
1.Every time the pencil is tested, it can be turned once, then taken out, and ground with sandpaper before trying again. Remember that the center of the pencil should not be rounded, and the sharp edges of the pencil should not be damaged.
2.The hardness value is the former of the pen that just failed the test. If H has no scratches and 2H has scratches, the hardness of the test piece is H.