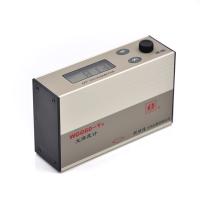
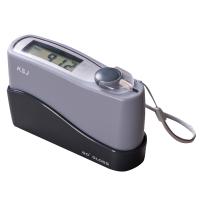
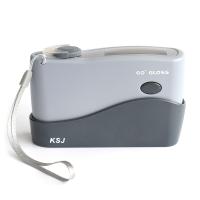
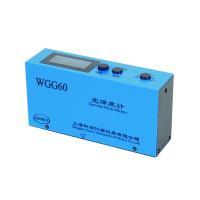
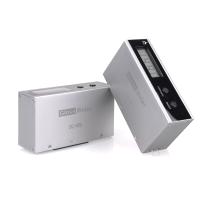
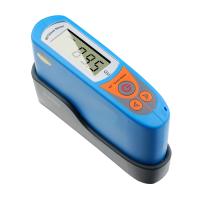
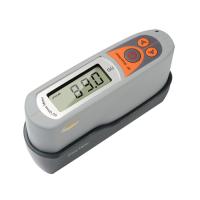
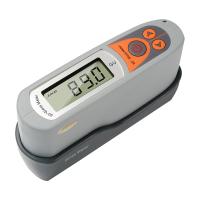
Gloss is measured by an instrument called a gloss meter, which assigns gloss units (GU) to a given surface. The GU scale of the gloss meter is based on a highly polished reference black glass standard with a defined index of refraction having a specular reflectance of 100 GU at the specified angle. Fouling is suitable for most non-metallic coatings such as paints and plastics. For other highly reflective surfaces, such as mirrors or coated and unfinished metals, higher values of 2,000 GU can be achieved when measured at 20 degrees. Many industries choose to adopt the 20/60/85º geometry specified in ASTM D523. In the United States, the three main standards for gloss measurement are D523 Specular Gloss Measurement, D4039 Reflective Haze Measurement of High Gloss Surfaces,
If you're just getting started with gloss measurement, there are some differences that the human eye can detect. When measured at 60 degrees, the detectable difference in gloss depends on the gloss of the sample. For example, a gloss difference of 3.0 GU can be easily detected on one surface but not the other. When a gloss difference of 3.0 GU is measured on a matte surface, approximately 5 GU is visible to the naked eye. However, measuring the same difference on a high gloss coating of around 60 GU would be very difficult.
The real way to determine product tolerances is through experimentation, by preparing printed samples of different gloss levels that you can show directly to clients or in-house "professionals" for proper feedback.
Another way is to use a 20/60/85 degree Tri-Gloss instrument. By using a gloss viewing angle of 85 degrees, you will have a higher sensitivity to gloss differences below 60 GU than under 10 GU, while by using a gloss viewing angle of 20 degrees, you will be more sensitive to high gloss paints (at 70 GU @ 60º above) with higher resolution. The advantage of using a 20/60/85 degree Tri-Gloss instrument is that the gloss differences are more even, in our experience only 5 GU of gloss can be seen by a trained observer when measured with the correct geometry difference.

