1. Switch operation
Press and hold the "Test" button on the side of the instrument to switch on and off the instrument, accompanied by a "beep" sound.
2. Calibration page
Turn on the instrument, automatically enter the calibration page, press the "Test" key, the instrument will automatically calibrate. When you hear a "beep" sound and the words "calibration successful" appear, it means the calibration is successful. After the calibration is passed, enter the "Standard Sample Test" page, as shown in the figure below.

Note: Calibration is required during the measurement process, you can enter the "main page" and select the "calibration" icon, and the operation is the same as above.
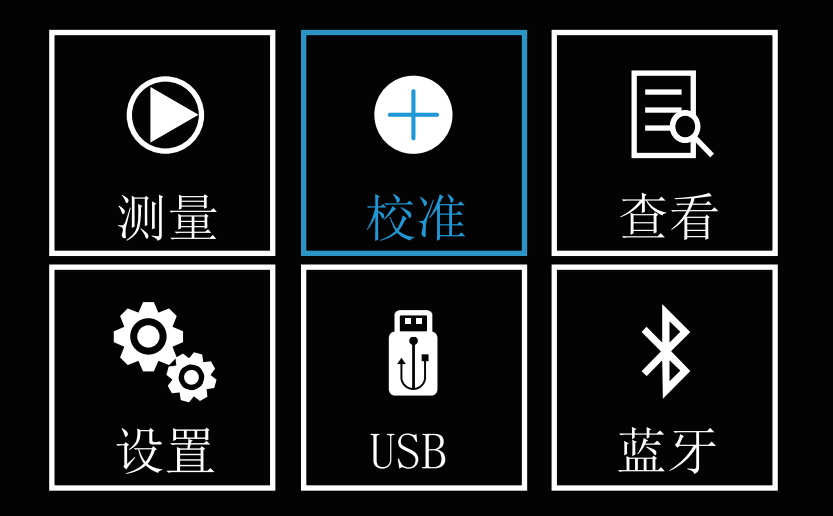
3. Main menu page
The "Main Menu" page is shown in the figure below. Press the "Up" and "Down" keys to switch between operations, and you can select "Measurement", "Calibration", "View", "Settings", "USB", and "Bluetooth". Press "Enter" to confirm. Press the "Test" key to return to the previous step.
4. Measurement page
On the main page, press the Up and Down selection keys to select the "Measurement" icon, and press the "Enter" key to enter the "Measurement" page. Under this page, the user can measure the gloss information of the sample. It can also measure the gloss difference between the sample and the standard sample, and check whether the sample is qualified or not, and can choose to "save" and "print" the test results through the Up and Down selection keys.
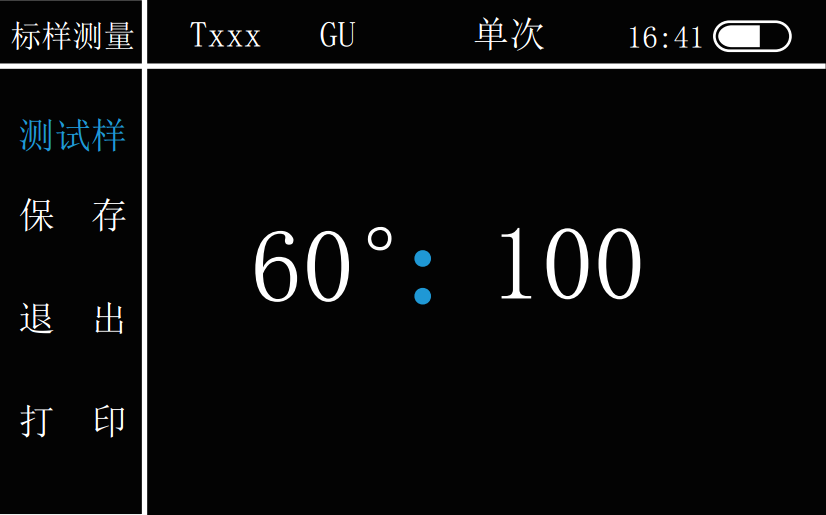
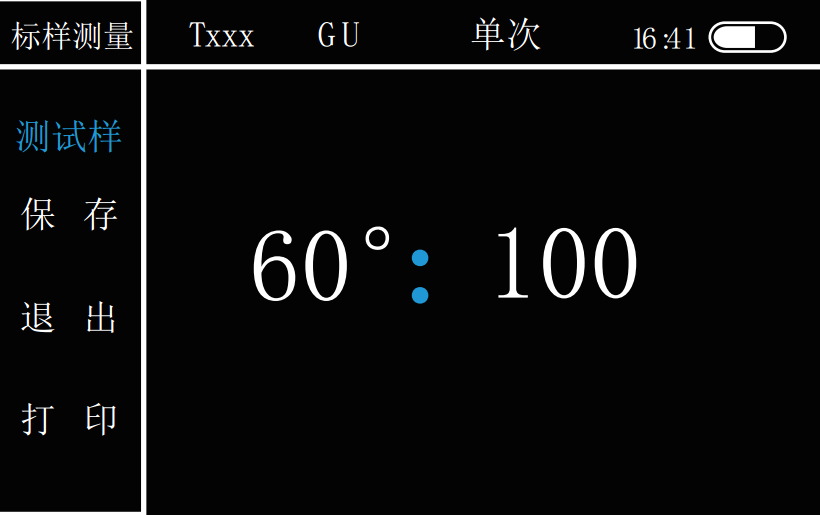
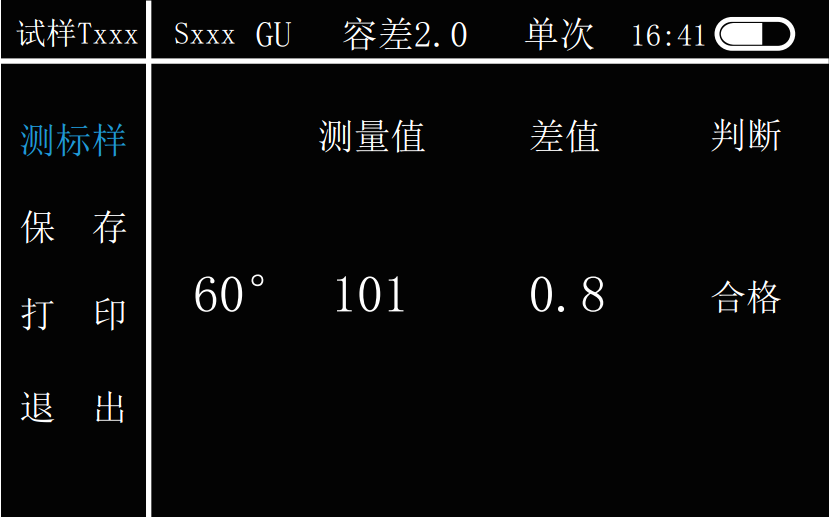
5. Standard sample test
In the main menu, use "Up" and "Down" to select the "Measurement" icon, and press "Enter" to enter the measurement page. The system defaults to the "Standard Sample Test" page, as shown in the figure below. Press "Test" to test the standard sample. After hearing the sound of "beep", the test is completed and you can check the test results. Press the "Up" and "Down" keys to choose to "save" and "print" the test results.
Save: After the test is completed, press the "Up" and "Down" keys to select "Save" the test results, press the "Enter" key to confirm, and the pop-up window shown in the figure below will appear.
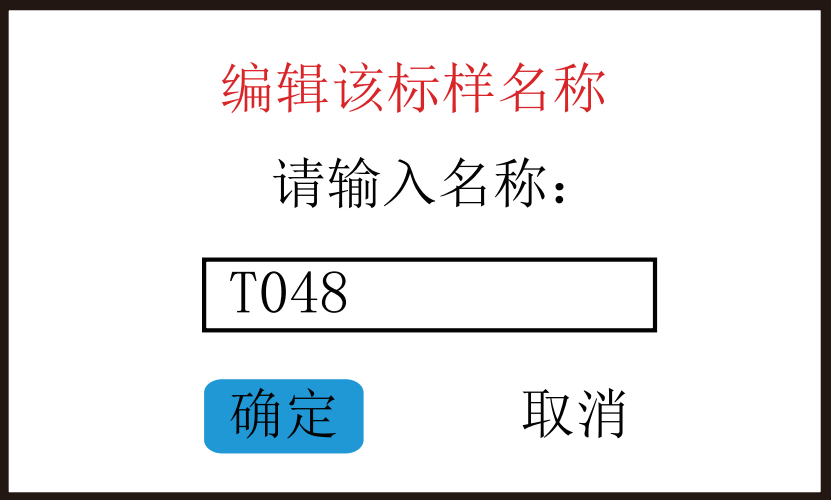
Use the "Up" and "Down" keys to select the sample name, press the "Enter" key to confirm, and use the "Up" and "Down" keys to modify the corresponding value and character (the value range is 0-9, and the letter is AZ), and then Press "Enter" to confirm. After editing, press the "Test" key to exit editing, and then confirm whether to modify.
Print: Press "Up" and "Down" to select "Print", press "Enter" to confirm.
6. Sample test
在上面的标样测试完成后,通过“Up”和“Down”键将选项移到“测试样”,按“Enter”键确定,进入“试样测试”界面如下图所示。该界面以当前测试数据为标样,按“Test”键测试样,听到“嘀”声后,测试完毕,显示光泽度测试结果。与标样相同,试样的名称显示为“S×××”。
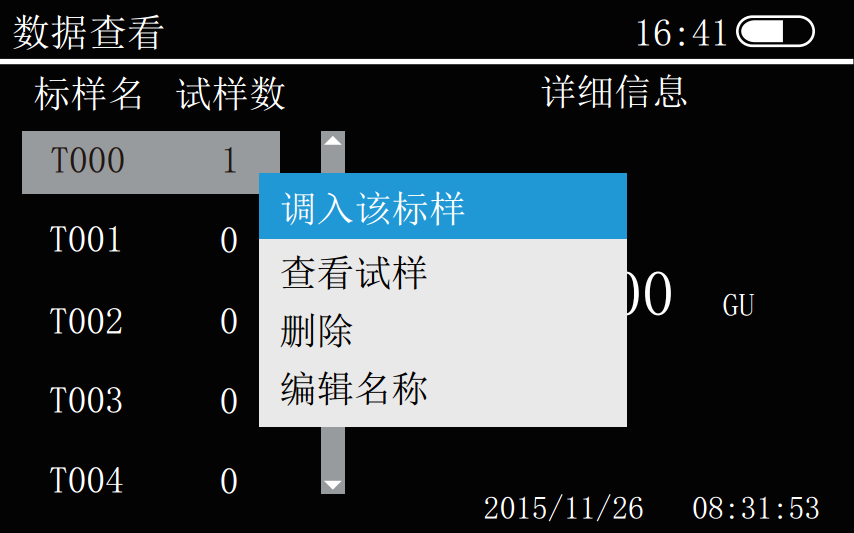
在“数据查看”界面,同样可以进行光泽度测量。通过“Up”和“Down”键选择已有标样,按“Enter”键进入选择菜单,选择“调入该标样”,如下图。
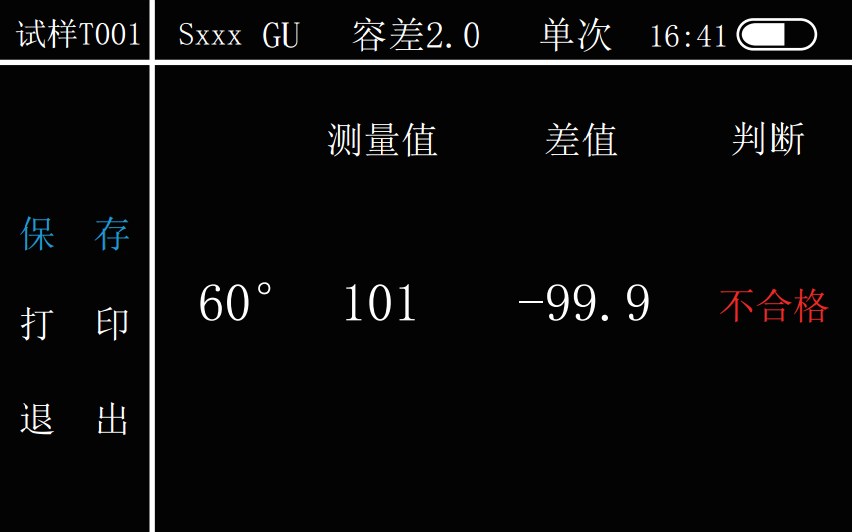
进入该标样下的“试样测量界面”,如下图。按“Test”键进行测量,“嘀”声后完成光泽度测量,查看测试结果。按“Test”键进行新的光泽度测量。

注:光泽度测试之前请先设置容差。(参看 设置——测量设置——容差)在“试样测量”页面中,通过“Up”和“Down”键,还可以对测试结果进行“打印”、“保存”、“退出”选择,按“Enter”键确定。试样的保存操作同标样保存。
七、数据查看
在主菜单界面通过“Up”和“Down”选择“查看”图标,按“Enter”键确定,进入“数据查看”页面如下图所示。在该界面下,用户可以查看已保存标样、试样信息。
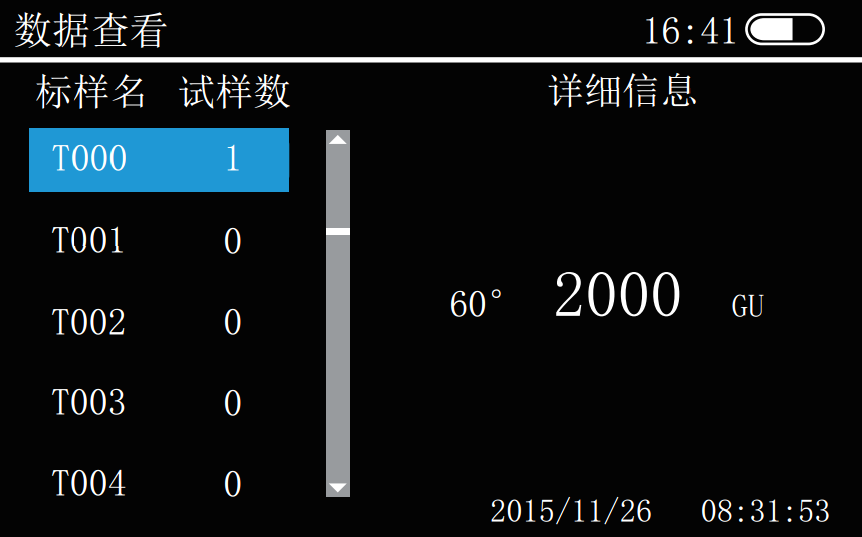
通过“Up ”“Down”键选择需要查看的标样,按“Enter”键弹出菜单栏,如下图,通过“Up ”“Down”键,选择调入该标样、查看试样、删除、编辑名称等操作。

调入该标样:可以在此界面进行该标样下的试样测试,按“Test”键可进行多个样品测试,并可对测试数据进行“保存”、“打印”操作。
查看试样:查看所选标样下的所有试样的测试记录。通过“Up”和“Down”键选中试样,按“Enter”键确定,如下图所示。即可在弹出菜单框中对所选测试记录进行删除、删除所有、编辑名称操作。
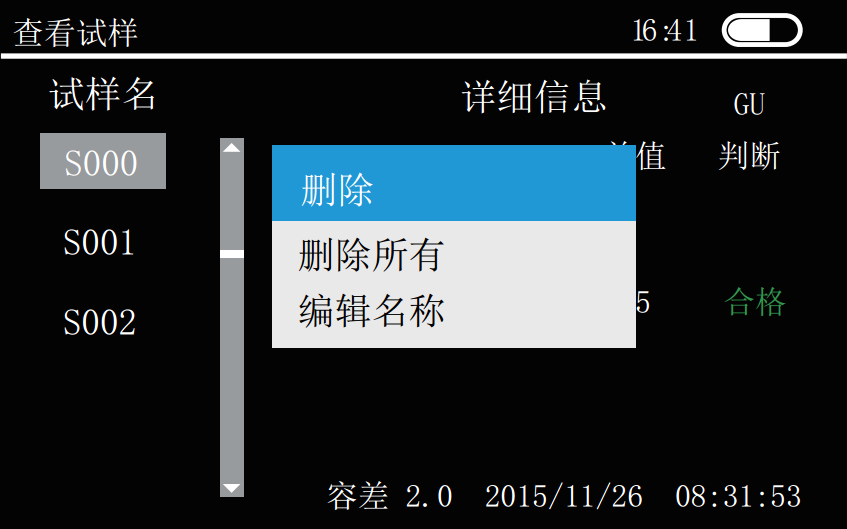
删除:将删除该试样的所有测试记录。
删除所有:将删除该标样下的所有试样测试记录。
编辑名称:操作请参考(测试——标样测试——保存——编辑名称)。
八、设置
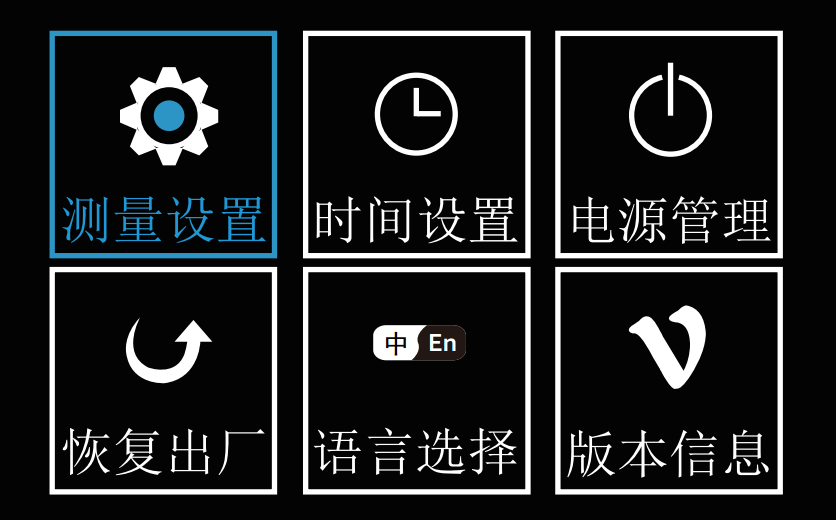
在主菜单界面选择“设置”图标,按“Enter”键确定,进入“设置”页面,如下图所示。通过“Up”和“Down”键进行操作:“测量设置”、“时间设置”、“电源管理”、“恢复出厂”、“语言选择”、“版本信息”等选择,再按“Enter”键确认。
九、测量设置
通过“Up”和“Down”键选择“测量设置”图标,按“Enter”键进入“测量设置”界面,如下图所示。
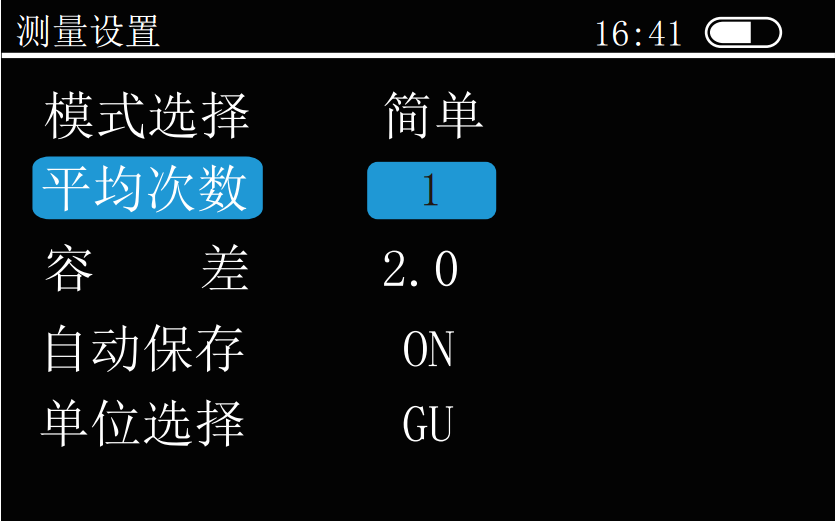
通过“Up”和“Down”键选择设置内容,按“Enter”键进行确认。
模式选择:按“Enter”键,切换“统计”和“简单”两种模式平均次数:按“Enter”键选择,通过“Up”、“Down”键改变数值,再按“Enter”键进行确认。
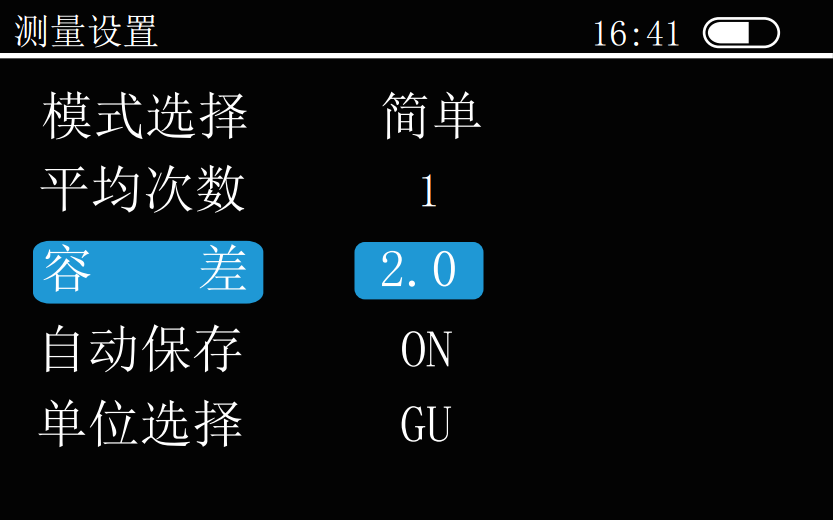
容差:按“Enter”键选择,通过“Up”、“Down”键改变数值,再按“Enter”键进行确认。
自动保存:按“Enter”键切换“ON”、“OFF”保存模式。
单位选择:按“Enter”键,切换“GU”和“REF”两种单位。
十、时间设置
通过“Up”和“Down”键选择“时间设置”图标,按“Enter”键进入“时间设置”界面,如图下图所示。
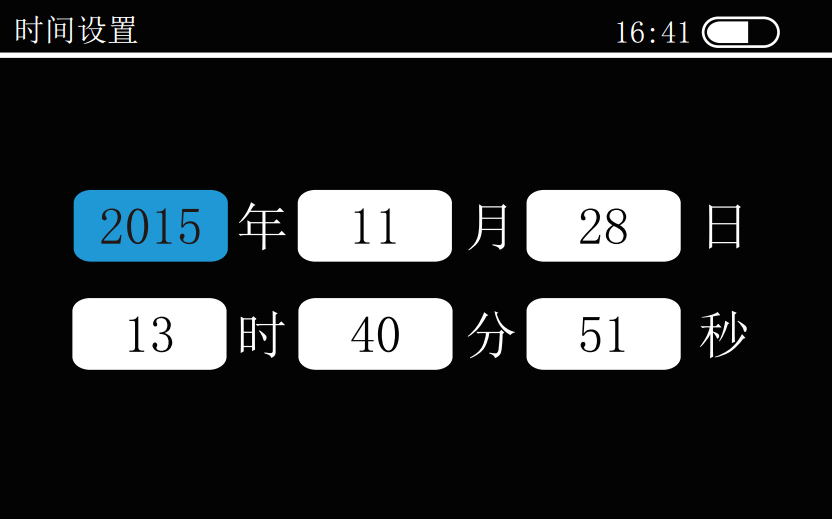
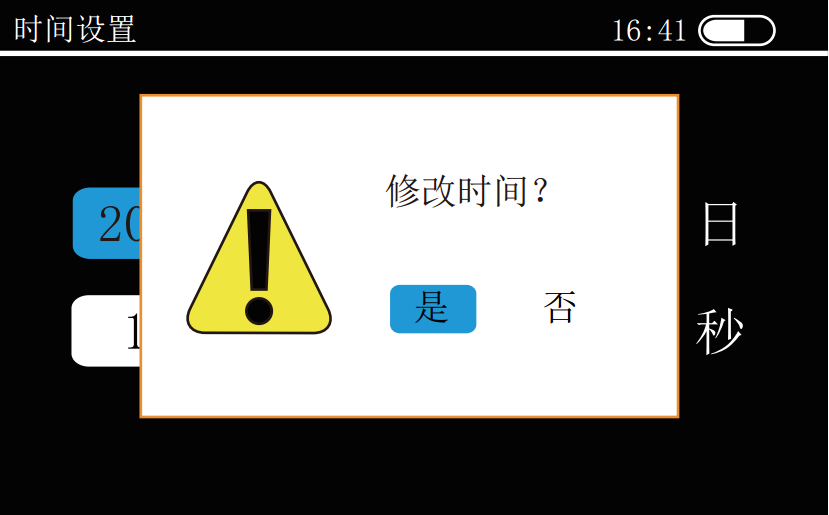
在时间设置页面下。按“Up”、“Down”键移动蓝色方块所对应的数字,然后按“Enter”键,蓝色方块所对应的数字可调状态,通过“Up”、“Down”键对时间参数进行修改,再按“Enter”键确认。按“Up” “Down”键移动蓝色方块到其他需要修改的数字下,修改同上。所有的数修改完时,按“Test”键进入保存页面,如下图所示。
十一、电源管理
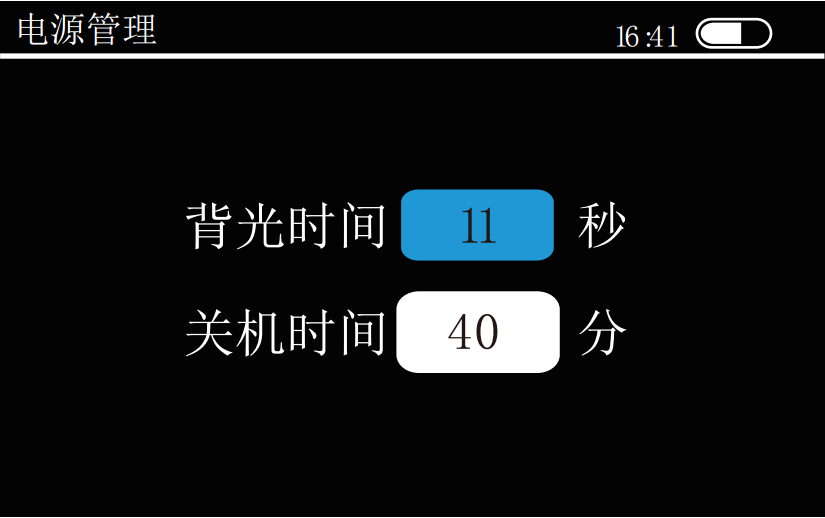
通过“Up”和“Down”键选择“电源设置”图标,按“Enter”键进入“电源设置”界面,如下图所示。

On the “Power Setting” interface, press the “Up” and “Down” keys to move the number corresponding to “ ”, then press the “Enter” key, the number corresponding to “ ” becomes adjustable, and you can modify it by pressing the “Up” and “Down” keys. The number corresponding to " " is to adjust the backlight and shutdown time. The adjustment range of the backlight time is 0-60 seconds with an interval of 5 seconds; the shutdown time is 0-60 minutes with an interval of 1 minute. After modification, press "Enter" to confirm.
Note: When the backlight time is set to 0, the backlight will not be turned off, and when the shutdown time is set to 0, it will not be automatically turned off.
12. Factory reset
Use the "Up" and "Down" keys to select the "Restore Factory" icon, press the "Enter" key to enter the "Restore Factory" interface, as shown in the figure below, move the blue square (press the "Up" and "Down" keys), When the cursor blue square moves on "Yes", press the "Enter" key to confirm and restore the data in the memory to factory settings; when the cursor moves on "No", press the "Enter" key to cancel and exit.
13. Language Selection
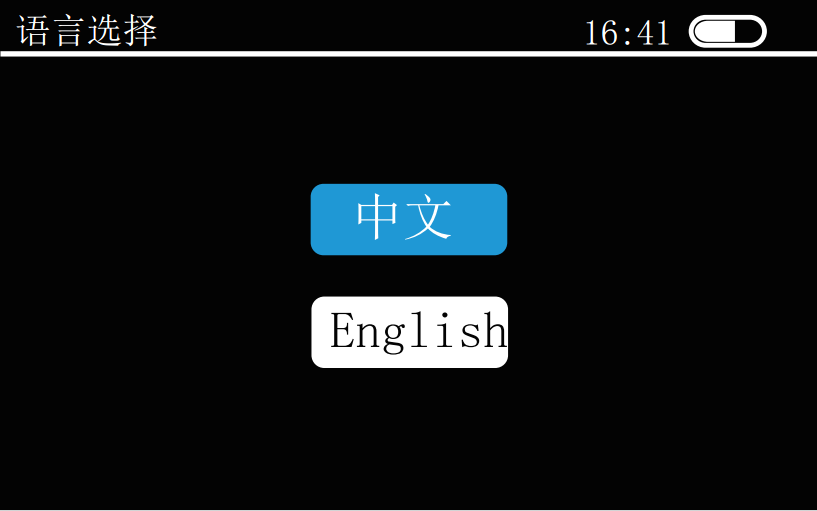
Use the "Up" and "Down" keys to select the "Language Setting" icon, and press the "Enter" key to enter the "Language Setting" interface, as shown in the figure below. Use the "Up" and "Down" keys to select the language, and then press the "Enter" key to confirm. The instrument provides two languages, Chinese and English.
14. Version information
Press the "Up" and "Down" keys to select the "Version Information" icon, press the "Enter" key to enter the "Version Information" interface, and you can see the detailed version information of the gloss meter.
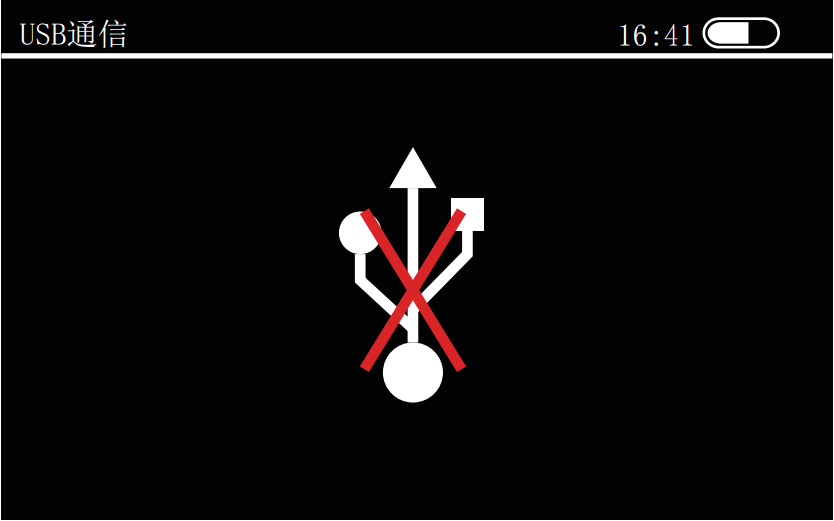
15. USB communication
On the main interface, press the "Up" and "Down" keys to move the cursor to "USB", press the "Enter" key to confirm, and enter the "USB Communication" interface. Connect the instrument to the PC with the standard USB data cable, and install the driver according to the prompts. After being installed correctly, it can be operated on the upper computer of the PC. When the USB cable is not inserted into the USB interface or the USB cable interface is not in good contact, plug it into the USB interface or reinsert it to connect normally and operate the host computer.