working principle
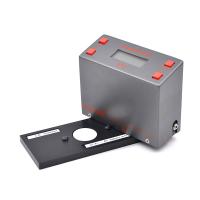
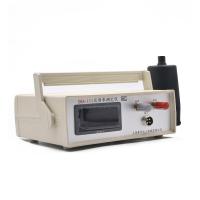
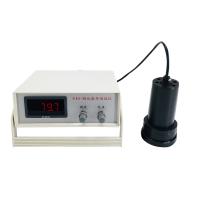
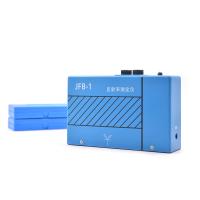
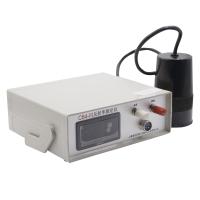
The instrument consists of a probe, a main body, a standard plate (one black and one black), and a working ceramic plate (two black and white plates).

The probe adopts the principle of 0° irradiation and diffuse reflection reception. When the reflected light of the sample acts on the surface of the selenium photocell, an electrical signal is input to the DC amplifier for amplification, and the reading is displayed (see the schematic diagram of the optical circuit and the block diagram of the instrument for details).
Instructions
1. Connect the probe to the electric control box, connect the power supply at the same time, and turn on the machine to preheat for 10-15 minutes. At this time, it is better to place the probe on the black standard board.
2. Zero calibration: put the probe on the white standard board, adjust the zero calibration knob on the main unit, so that the digital display of the main unit is 000.0, and the allowable variation is ±0.1.
3. Calibrate the standard value: put the probe on the white standard plate, adjust the calibration knob of the host, so that the value displayed by the host is consistent with the calibration of the white standard plate. It is allowed to change ±0.1 and adjust it repeatedly (zero calibration, calibration calibration).
4. Measure the RB value: move the probe to the black working ceramic plate with the sample, and the value displayed on the display is the RB value.
5. Measure the RW value: move the probe to the white working ceramic plate with the sample, and the value displayed on the monitor is the RW value.
6. Calculate the contrast ratio Contrast ratio (this probability) = RB/RW × 100%
Precautions
1. In order to ensure the measurement accuracy, the instrument should be calibrated frequently, the allowable deviation is ±0.3, if it is greater than 0.3, a new calibration is required.
2. In order to overcome the light fatigue phenomenon of selenium photocells, the probe should be placed on the black standard board during the test interval.
3. The preparation of the sample should be carried out in strict accordance with the provisions of the relevant national standard GB9271-88.
Maintenance and Troubleshooting
1. Bulb replacement
Unscrew the fixing screw of the probe cable, open the upper part of the probe and solder the connecting wire, take out the light bulb, replace it with a new light bulb and restore it. Adjust the position of the filament after replacing the bulb. The probe can be placed flat so that the projection hole is aligned with an opaque body in front, and the distance is more than 1 meter.
2. Troubleshooting