Experiment preparation
Read the safety data sheet and wear appropriate PPE.
Use standardized testing procedures.
Never use obsolete pens or pens with contaminated nibs.
Always store test pens at room temperature.
Always perform testing in a clean, level testing area.
Make sure that the liquid in the test pen does not react adversely with the material being tested or leach into the material and cause it to swell.
Always test at room temperature and never in very humid environments.
Always test at least 3 different locations on the material sample.
Do not touch the area to be tested.
Test on a clean area of the material and never retest on the same area.
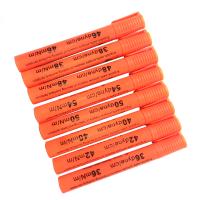
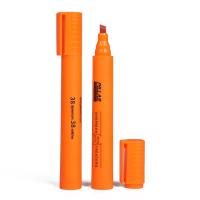
How to use Dyne pen?
Four easy measurement steps:
Select the dyne pen that you think will be lower than the test sample
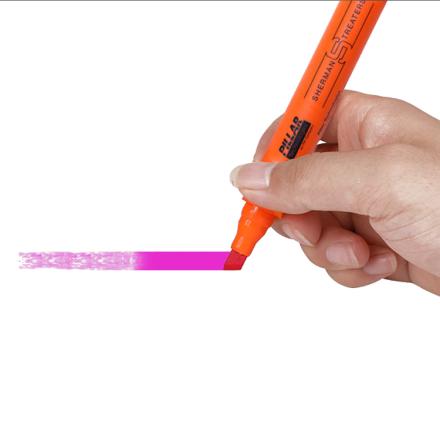
Press the tip firmly against the sample until the tip is saturated with the test fluid
Gently draw the pen over the surface in 3 parallel passages, each approximately 100mm long, ignoring the first 2 passages as they are used to rinse the tip. Only the third pass is evaluated.
If the ink remains wet on the sample for 3 seconds or longer, repeat steps 2 and 3 with the next higher dyne level pen. If the last ink rolls up the bead in 1 second or less, repeat steps 2 and 3 with the next lower value dyne pen. If the ink bar remains for 1 to 3 seconds before losing integrity, the pen's dyne level is close to the value of the material