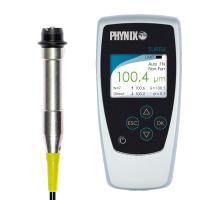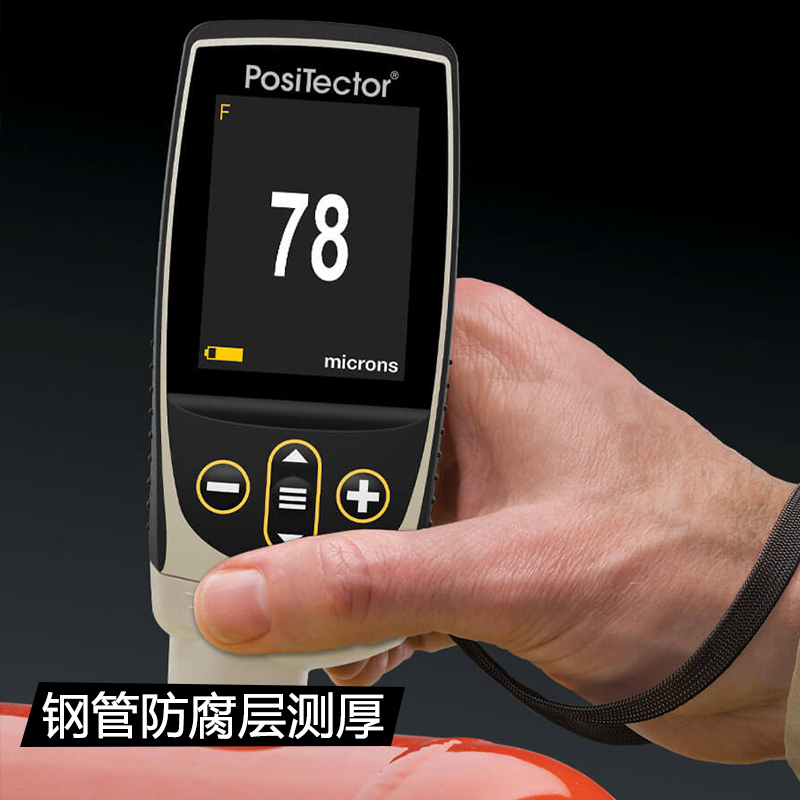
What does "calibration" mean?
During calibration, the reading of the measuring device is compared to the actual property of the object being measured (usually a standard of known value). Layer thickness is one such property. If the value just measured deviates from the known value, the equipment needs to be adjusted.
How should calibration be done?
The same conditions should be used during the calibration as during the subsequent actual measurement. If the thickness of a coating is to be measured, the device should be calibrated on an uncoated pristine part. For calibration, use the same position on the uncoated workpiece as when measuring the coated part.
When should I recalibrate?
In general, the instrument should be recalibrated whenever the measurement conditions change. For example, if the composition of the substrate changes, or if you go from a flat section to a curved section, a recalibration may be required, depending on the measurement method used.
Common factors that can affect measurement results. The device should be recalibrated if one of these factors changes significantly:
Measure the curvature of the surface
For thin specimens: the thickness of the substrate
For small samples: workpiece size
roughness
Composition and magnetizability of substrate or coating material
For conductivity measurement: temperature
Quick or extensive calibration?
On most devices, you can choose between a quick single-point calibration and a full-blown multi-point calibration. If you're measuring very close values, the fast variant is usually sufficient. For example, if the thickness of the coating varies between 10 and 15 µm, it is sufficient to use a single 13 µm standard to calibrate the device. If the thickness range is large, a multi-point calibration is recommended; the target value should end the expected coating thickness range.


