1. Power on/off
boot:
During the probe test process, the power is automatically triggered and the results are directly measured .
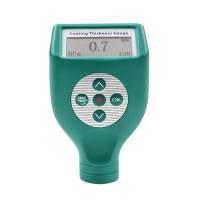
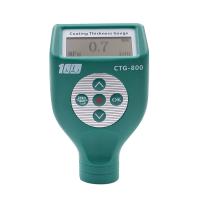
Short press the button on the instrument to turn it on, and after turning it on, the parameters of the host , the parameters of the probe, and the historical data interface recorded last time will be displayed respectively.
Shutdown: Long press the red button on the instrument to shut down; or automatically shut down without any operation for 1 minute.
2. Zero adjustment
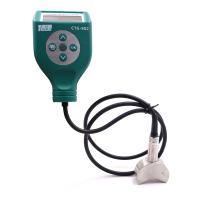
1) Use the instrument to measure the zero-adjustment plate or unpainted workpiece (substrate), and the instrument will display a measured value at this time (press the probe of the instrument vertically on the center of the zero-adjustment plate or the substrate during measurement, keep the probe stable and do not tilt or shake).
2) Keep the probe still, lightly press the red button on the instrument, and after hearing the sound of the buzzer, the instrument will prompt "Please press the probe tightly for zero adjustment".
3) Wait for the instrument to prompt "Please lift the probe more than 15cm", lift the probe and leave the zero adjustment board or the substrate more than 15cm.
4) After hearing the beeper sound again, the LCD will display 0.0, and the zero adjustment is completed.
3. Measure
(1) Hold the probe with the anti-skid groove with your fingers.
(2) Press the probe of the instrument vertically on the surface of the object to be measured, keep the probe stable and do not tilt or shake, the measurement result will appear on the screen, and there will be a buzzer prompt.
(3) To continue measuring, lift the probe away from the object to be measured, and then follow step (2) again.