YUSHINDT UM-5DL Large capacity penetrating coating Ultrasonic Thickness Gauge 10W Storage value
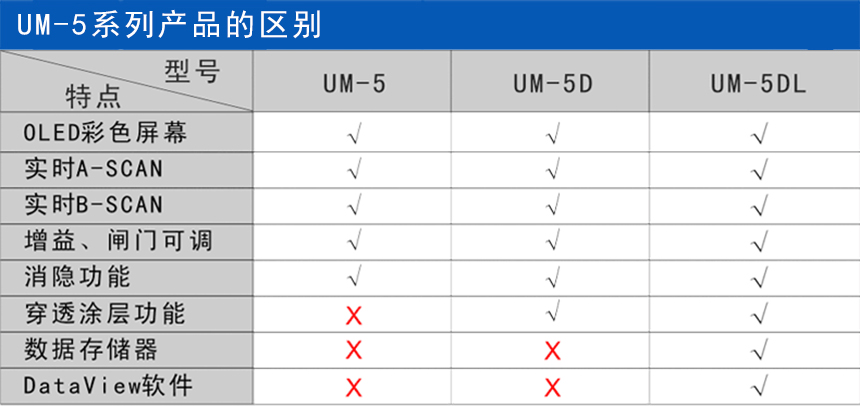
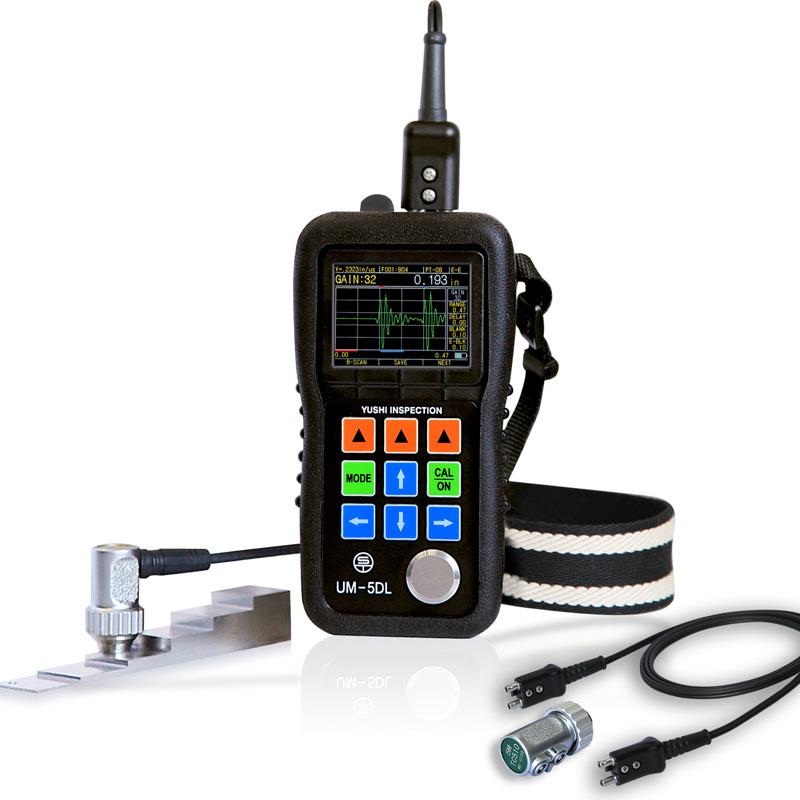
UM-5DL large capacity penetrating coating Ultrasonic Thickness Gauge belongs to storage type, including all functions of UM-5D, adding storage function, can store 10W thickness value. Can measure the thickness of metal materials, pipes, Pressure Vessel, plates (steel plate, Aluminum Panel), Plastic, Iron Pipe, PVC Pipe, Glass and other Miscellaneous special materials
 yushindt
-

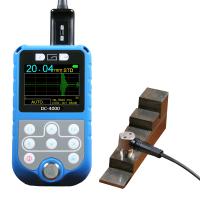
Ultrasonic Thickness Gauge DC-4000, automatic and manual measurement
$ 2206.00 -

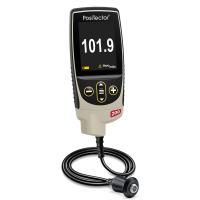
Defelsko Positector200 Standard Ultrasonic Coating Thickness Gauge D Standard 200D1-E
$ 3305.00 -

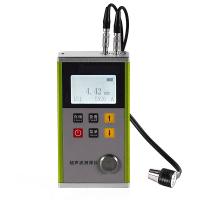
LEEB333 high-precision Ultrasonic Thickness Gauge Display resolution 0.001mm
$ 495.00 -

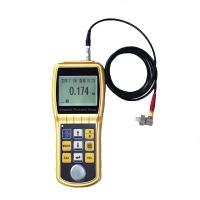
PRUT600 Ultrasonic Thickness Gauge penetrating coating thickness measurement
Login -

Defelsko B Advanced 200B3-E Ultrasonic Thickness Gauge polymer substrate Coating thickness High versatility
$ 3387.00
The UM-5D Penetrating Coating Ultrasonic Thickness Gauge is a high-end penetration type that includes all the features of the UM-5 and can measure workpieces up to 127mm thick in penetration mode. Including the thickness of metal materials, pipes, pressure vessels, plates (steel plates, aluminum plates), plastics, iron pipes, PVC pipes, glass and other special materials; It is also possible to measure coated materials such as paint layers on the surface of the workpiece; It is also widely used in manufacturing industry, metal processing industry, chemical industry, commodity inspection industry and other testing fields.
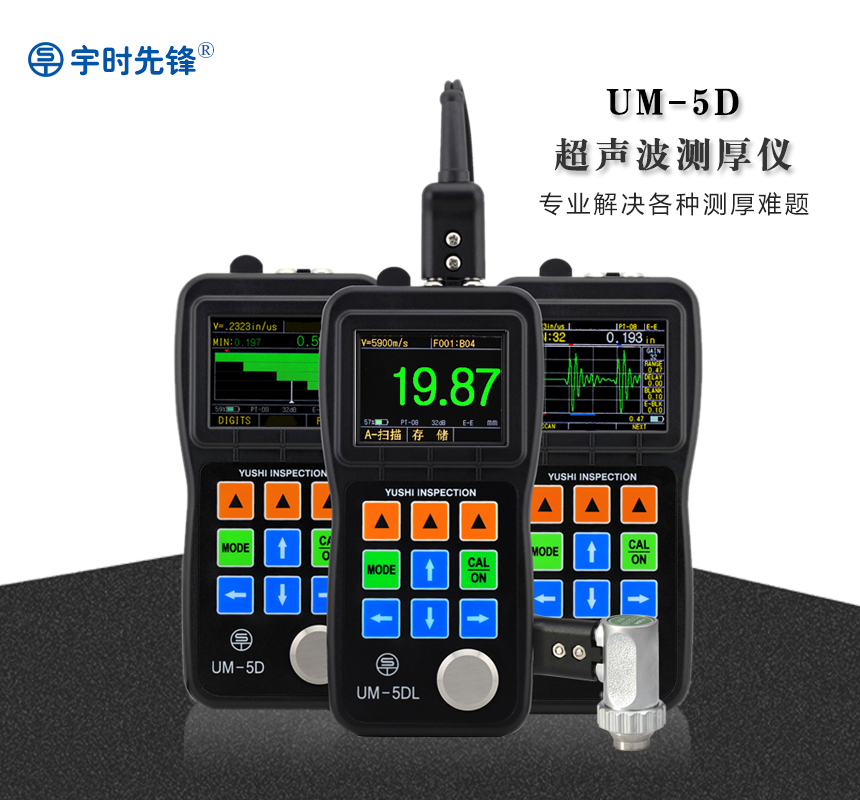
M-5D Key Features
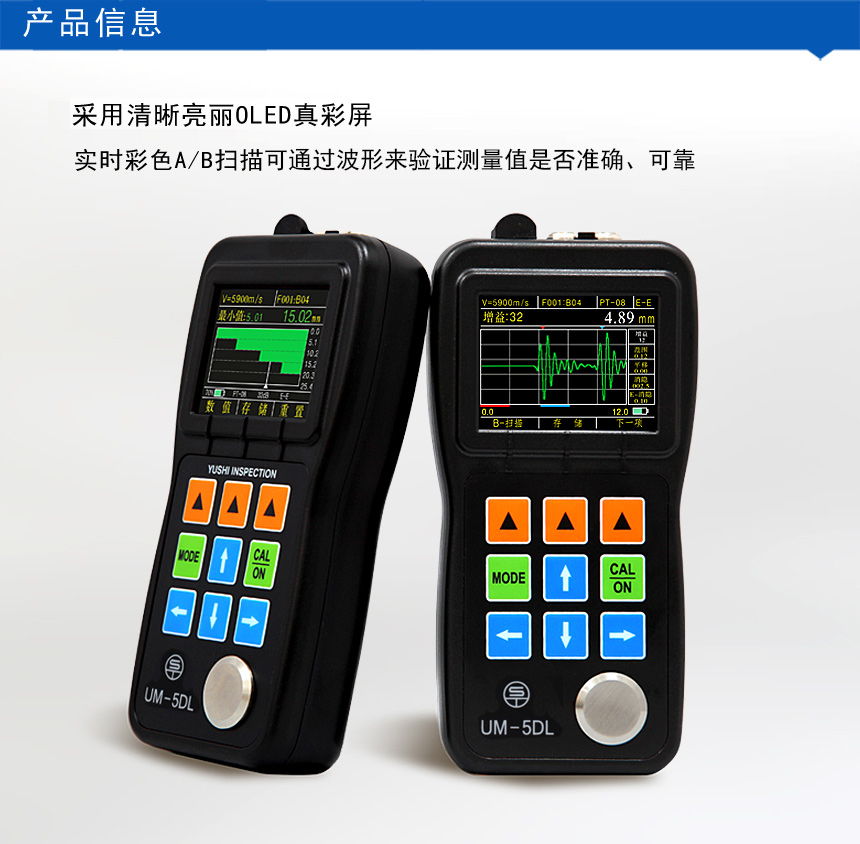
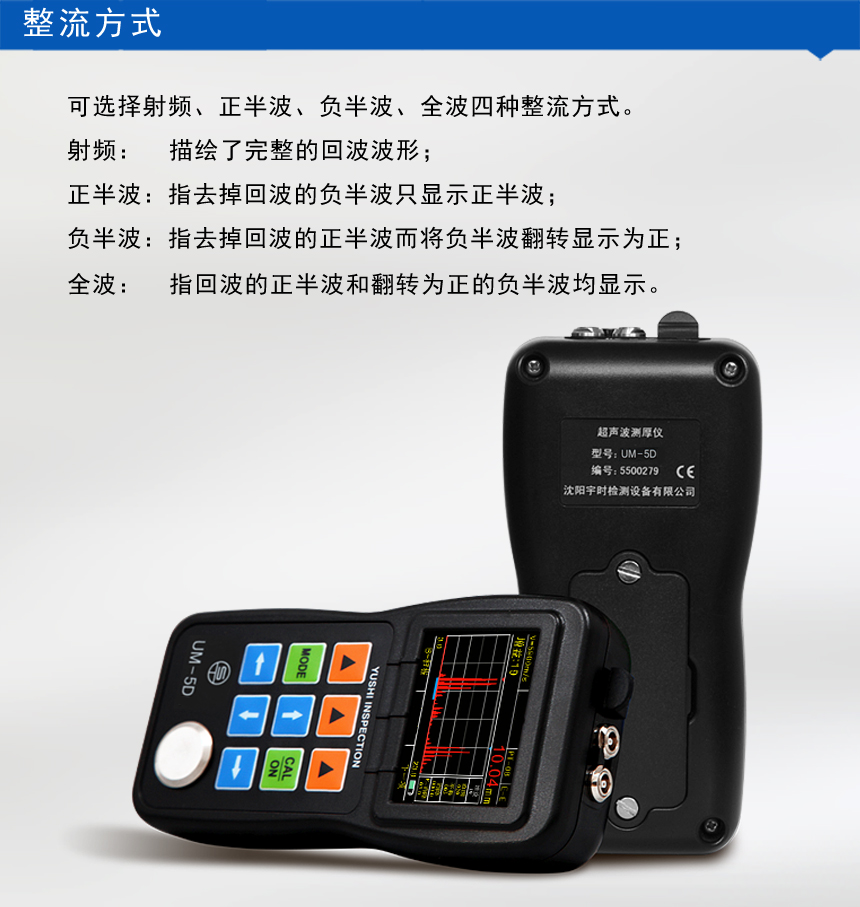
Live Color A-Scan
The color ultrasound signal wavepattern (or A-scan) is visible directly on the screen, which is important when it is necessary to verify that the thickness reading is correct. MANY CASES CAN CAUSE FALSE OR NO THICKNESS READINGS, AND IT IS EASY TO FIND THE PROBLEM BASED ON THE WAVEFORM, AND THEN ONLY NEED TO MAKE APPROPRIATE ADJUSTMENTS TO THE GAIN, BLANKING, AND GATE PARAMETERS ACCORDING TO THE WAVEFORM TO GET THE CORRECT THICKNESS READING.
The usefulness of the waveform: verify the thickness reading according to the waveform, find the problem according to the waveform, seek solutions according to the waveform, and adjust the parameters according to the waveform to solve the problem.
Gain Adjustment (GAIN)
Adjust the amplification of the echo signal by the instrument, allowing for manual increases or decreases in ldB. This feature is very useful for the measurement of acoustic-attenuating materials such as metal castings.
BLANKING
Nullifying waveforms within the red blanking strip eliminates harmful clutter that can affect the measurement, such as noise caused by rough surfaces or internal unevenness of the material.
Gate height adjustable (GATE)
Only when the echo is higher than the gate does the instrument think that the echo has been received and there is a measurement. The importance of height-adjustable gates is visible, especially in applications dealing with low echo signals (e.g. ultra-thin plates, ultra-thick plates).
Red arrows
The A-scan mode has a red arrow indicating the measurement point, and the thickness reading is the abscissa of that point. It helps to determine if the thickness reading is correct, and the red arrow should point to the first bottom echo front when measured correctly.
RANGE
Adjust the range of waveforms displayed on the screen so that the waveforms are visually compressed or expanded. If the display range is not set correctly, the echo waveform may not be visible out of the display area, but the measured value will still be displayed correctly.
DELAY
Adjust the starting position of the waveform displayed on the screen so that the waveform is visually moved horizontally. Without the correct panning settings, the echo waveform may go out of the display area and not be visible, but the measured values will still be displayed correctly. The range and pan function enlarges any part of the waveform on the screen.
Live ColorB-Scan
The UM-5 series Thickness Gauges have a time-based B-scan function. Displays a profile along the probe trajectory to observe the underside profile of the part being measured. It automatically captures the minimum value on a B-scan image, and the location of the minimum value is indicated by a red triangle. You can also move the pointer to see the thickness value at any point on the B-scan image.
With the through-coating function, there is no longer a need for time-consuming and laborious coating removal
UM-5 Series Probe Models:
Model | PT08 | TC510 | PT12 | PT06 | PT04 | ZT12 | GT12 |
type | UM-5 standard | UM-5D/ | Standard | Small diameter tubes | fingertips | Coarse-grained (cast iron) | high temperature |
frequency | 5MHz | 5MHz | 5MHz | 7.5MHz | 10MHz | 2MHz | 5MHz |
Contact diameter | 11mm | 13.5mm | 13.5mm | 8mm | 6mm | 17mm | 15mm |
Measuring range | 0.8~100.0mm | 1.2~200.0mm | 1.0~200.0mm | 0.8~30.0mm | 0.7~12.0mm | 4.0~508.0mm | 4.0~80.0mm |
Allowable temperature | -10~70℃ | -10~70℃ | -10~70℃ | -10~70℃ | -10~70℃ | -10~70℃ | -20~480℃ |
yushindt UM-5DL Ultrasonic Thickness GaugeSpecifications
| LIST | VALUE |
|---|---|
| Measurement range | 1.2~200.0mm |
| Probe Frequency | 5Hz |
| Probe diameter | Φ13.5mm |
| Probe contact temperature | -10~70℃ |
| measurement error | ±0.05mm(<25mm);±0.2%H (<100mm);±0.5%H (<100mm) |
| Display resolution | 0.01/0.1mm |
| unit system | mm/inch |
| Calibration method | One point calibrated, two point calibrated |
| Repeatability | ±0.05mm |
| Storage Capacity | Can store 400 files, 100,000 thickness values and 1000 A and B scan waveforms |
| statistical function | Thickness Value Mode, Min/MAX Maximum Capture Mode, Difference/Reduction Rate Mode |
| Speed of sound | 500~9999m/s |
| Operating language | Chinese, English, Japanese, German and French are available in five languages |
| Interface | USB 2.0 full speed interface |
| Application Software | DataView software |
| Environmental temperature | -10~50℃ |
| Power Supply | Two 1.5V AA batteries |
| Operating Time | 35h |
| Host size | 153*76*37mm |
| Weight | 280G (including battery) |
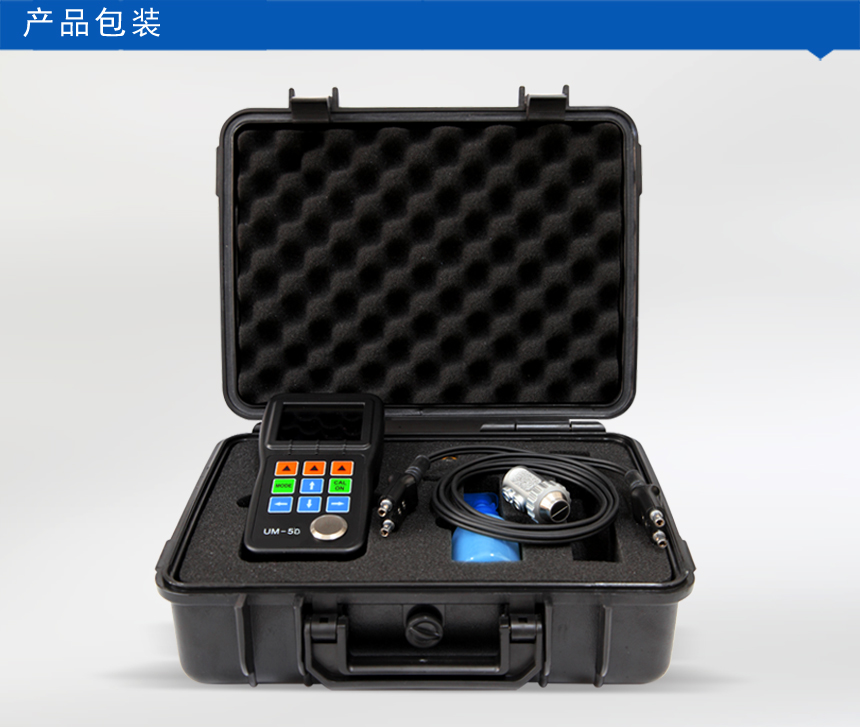
yushindt UM-5DL Ultrasonic Thickness Gauge Packing list
Thickness gauge host, standard probe, instrument box, two alkaline batteries, coupling agent, operation manual, certificate of conformity, packing list, 1 data communication cable, 1 software CD-ROM
[Note] Because the manufacturer's packaging may be updated or upgraded, the detailed packaging list shall be subject to the latest standard configuration of the manufacturer.
FAQ
- Ultrasonic Thickness Gauge Daily Maintenance Precautions
- Ultrasonic Thickness Gauge FAQ and solution
- How does Ultrasonic Thickness Gauge pass through the coating measurement Film thickness?
- Ultrasonic Thickness Gauge measurement why must use coupling agent?

 UM-5DL

