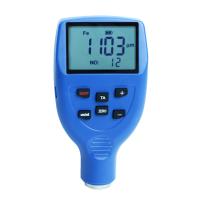
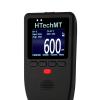
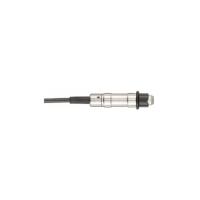
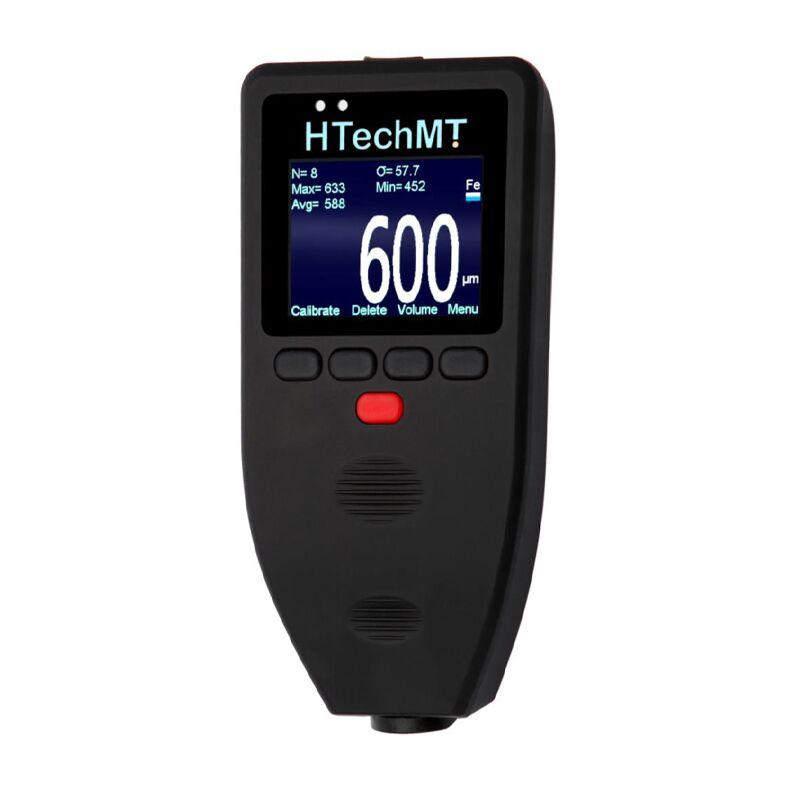
HTechMT CO600FAT5W Film Thickness Gauge iron base, advanced type 500μm
T-type iron-based integral type, 0.5mm, 1 million data stored, WIFI transmission
 HTechMT
-

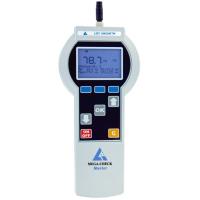
List MEGA-CHEK Master Storage Fast Scan Platings Thickness Gauge
$ 2156.00 -

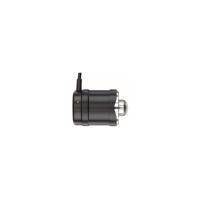
German EPK F20 Thickness Gauge probe, thickness measurement range 0~20000um
$ 1671.00 -

DONGRU DR5000S Coating Thickness Gauge 0~5000μm
$ 261.00 -

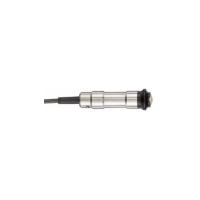
German EPK F2 high temperature magnetic probe, temperature up to 350 ℃ thickness range 10~2000um
$ 4617.00 -

HUINUO BP-1500FN paints Thickness Gauge, 1500μm thickness measurement integrated dual-use standard type
$ 211.00
Coating Thickness Gauges provide fast and accurate measurement of non-magnetic coatings or coatings (e.g., e.g., steel, iron) on magnetic metal substrates (e.g., steel, iron).Aluminum, chromium, copper, enamel, rubber, paint, etc.) and non-magnetic metal substrates (e.g. copper, aluminum, zinc, tin, etc.)The thickness of the non-conductive cladding (e.g., enamel, rubber, paint, plastic, etc.).
Executive Standards:ISO 2178/2360/2808、ISO 19840、ASTM B244/B499/D1186/D1400
CO600 series classification
CO600 F A E 1
1 Range type: 1/2/3/4/5 for 1.6, 5.0, 14.0, 25.0 and 0.5 mm (integral and integral strip type)
E: Function Type: Economy (E), Basic (B), Statistical (S), Advanced (T)
A: Main unit and probe connection type: Integral type (A), integral strip type (B) and split type (C)
F: Substrate type: Iron-based (F), Non-ferrous (N)

Split
| B (Basic) | S (Standard) | T (Advanced) | |
| Iron | CO600FCB | CO600FCS | CO600FCT |
| Non-iron-based | CO600NCB | CO600NCS | CO600NCT |
Monolithic
| Range | E (Economy) | B (Basic) | ||
| Monolithic | Integral belt line type | Monolithic | Integral belt line type | |
| Iron-based 0.5mm | CO600FAE5 | CO600FBE5 | CO600FAB5 | CO600FBB5 |
| Iron-based 1.6mm | CO600FAE1 | CO600FBE1 | CO600FAB1 | CO600FBB1 |
| Iron-based 5.0mm | CO600FAE2 | CO600FBE2 | CO600FAB2 | CO600FBB2 |
| Iron base 13.0mm | CO600FBB3 | |||
| Non-ferrous base 0.5mm | CO600NAE5 | CO600NBE5 | CO600NAB5 | CO600NBB5 |
| Non-ferrous base 1.6mm | CO600NAE1 | CO600NBE1 | CO600NAB1 | CO600NBB1 |
| Non-ferrous base 5.0mm | CO600NAE2 | CO600NBE2 | CO600NAB2 | CO600NBB2 |
| Non-ferrous base 13.0mm | CO600NAE3 | CO600NBE3 | CO600NAB3 | CO600NBB3 |
| Range | S (Standard) | T (Advanced) | ||
| Monolithic | Integral belt line type | Monolithic | Integral belt line type | |
| Iron-based 0.5mm | CO600FAS5 | CO600FBS5 | CO600FAT5 | CO600FBT5 |
| Iron-based 1.6mm | CO600FAS1 | CO600FBS1 | CO600FAT1 | CO600FBT1 |
| Iron-based 5.0mm | CO600FAS2 | CO600FBS2 | CO600FAT2 | CO600FBT2 |
| Iron base 13.0mm | CO600FBS3 | CO600FBT3 | ||
| Non-ferrous base 0.5mm | CO600NAS5 | CO600NBS5 | CO600NAT5 | CO600NBT5 |
| Non-ferrous base 1.6mm | CO600NAS1 | CO600NBS1 | CO600NAT1 | CO600NBT1 |
| Non-ferrous base 5.0mm | CO600NAS2 | CO600NBS2 | CO600NAT2 | CO600NBT2 |
| Non-ferrous base 13.0mm | CO600NBT3 | |||
Series differences
| CO600 | E | B | S | T | |
| Coating Thickness Gauge | Economical | Basic | Standard | Advanced | |
| Overview | Dimensions | 70*150*32mm | |||
| Weight (with battery) | 200g | ||||
| display screen | 2.2 TFT | ||||
| battery | 2 x No. 5 batteries (rechargeable batteries available) | ||||
| Battery life1 | 20 hours | ||||
| Operating temperature | -10~50oC | ||||
| precision2 | ±(1-3)% | ||||
| Test speed | 60 times/min | ||||
| Feature settings | Low battery alarm | √ | √ | √ | √ |
| Smooth two-point calibration | √ | √ | √ | √ | |
| Rough two-point calibration1 | √ | √ | √ | ||
| Rough two-point calibration2 | √ | √ | √ | ||
| Zero-point calibration | √ | √ | √ | ||
| Factory calibrated | √ | √ | √ | √ | |
| language3 | √ | √ | √ | √ | |
| Ambient light sensors | √ | √ | √ | √ | |
| Automatic screen transversion | √ | √ | √ | ||
| Test tone adjustments | √ | √ | √ | ||
| Display brightness adjustment | √ | √ | √ | ||
| Upper and lower limit functions | √ | √ | √ | ||
| Screen settings | Screen statistics function | √ | √ | √ | |
| Number of measurements | √ | √ | √ | ||
| maximum | √ | √ | √ | ||
| minimum | √ | √ | √ | ||
| average value | √ | √ | √ | ||
| standard deviation | √ | √ | √ | ||
| Array statistics | Create a new group | √ | √ | ||
| Open the group | √ | √ | |||
| View the group | √ | √ | |||
| Purge groups | √ | √ | |||
| Delete the group | √ | √ | |||
| Leave the group | √ | √ | |||
| Number of groups | 10 groups | 100 groups | |||
| Total storage | 100,000 pieces | 1,000,000 | |||
| other | USB connection to PC | √ | √ | √ | √ |
| Data is downloaded to a PC | √ | √ | |||
| Firmware upgrades | √ | √ | √ | √ | |
| Wifi | √ | √ | |||
1 Different batteries or settings may vary;
2 Accuracy depends on the accuracy of the standard and the user's proficiency;
3 The language is updated without notice, please contact customer service.
Probe selection
| shape | Probe model | A | B | C | Range | Accuracy 1 | Minimum headroom | Minimum test radius | Minimum substrate thickness |
 | CO600F1S | 9 | 40 | 50 | 1.6mm | ± 1-3% or 2.5μm | 80mm | 5mm | 0.8mm |
| CO600F2S | 9 | 40 | 50 | 5.0mm | ± 1-3% or 20μm | 80mm | 5mm | 0.8mm | |
| CO600F5S | 9 | 40 | 50 | 0.5mm | ± 1-3% or 2.0μm | 80mm | 5mm | 0.8mm | |
| CO600F1H | 9 | 40 | 50 | 1.6mm | ± 1-3% or 2.5μm | 80mm | 5mm | 0.8mm | |
| CO600F2H | 9 | 40 | 50 | 5.0mm | ± 1-3% or 20μm | 80mm | 5mm | 0.8mm | |
| CO600N1S | 9 | 40 | 50 | 1.6mm | ± 1-3% or 2.5μm | 80mm | 5mm | 0.3mm | |
| CO600N2S | 9 | 40 | 50 | 5.0mm | ± 1-3% or 20μm | 80mm | 5mm | 0.3mm | |
| CO600N5S | 9 | 40 | 50 | 0.5mm | ± 1-3% or 2.0μm | 80mm | 5mm | 0.3mm | |
 | CO600F1R | 9 | 40 | 50 | 1.6mm | ± 1-3% or 2.5μm | 30mm | 5mm | 0.8mm |
| CO600F2R | 9 | 40 | 50 | 5.0mm | ± 1-3% or 20μm | 30mm | 5mm | 0.8mm | |
| CO600N1R | 9 | 40 | 50 | 1.5mm | ± 1-3% or 2.5μm | 30mm | 5mm | 0.3mm | |
| CO600N2R | 9 | 40 | 50 | 5.0mm | ± 1-3% or 20μm | 30mm | 5mm | 0.3mm | |
 | CO600F3S | 16.5 | 40 | 50 | 13.0mm | ± 1-3% or 50μm | 80mm | 10mm | 1.0mm |
| CO600F4S | 24 | 60 | 50 | 26.0mm | ± 1-3% or 100μm | 120mm | 30mm | 1.0mm |
*High temperature probe temperature is 250°C
HTechMT CO600FAT5W Coating Thickness GaugeSpecifications
| LIST | VALUE |
|---|---|
| Measurement principle | Magnetic Induction |
| Measurement range | 0~500μm |
| margin of error | ±1% |
| Probe material | ruby |
| Calibrated mode | Smooth two-point calibrated, rough two-point calibrated, zero-point calibrated, factory calibrated |
| statistical function | Measurement times, MAX Maximum, MIN Minimum, Average, Standard deviation |
| Interface | USB |
| Power Supply | 2 AA batteries (rechargeable batteries can be used) |
| Standards | ISO 2178/2360/2808、ISO 19840、ASTM B244/B499/D1186/D1400 |
| system language | Chinese, English, German |
| Display screen | 2.2 TFT LCD screen |
| Operating temperature | -10~50℃ |
| Battery life | 20h |
| Protection level | IP64 |
| Print function | No |
| Machine Weight | 200g |
| Machine size | 70*150*32mm |
| Minimum headroom | 80mm |
| Minimum measurement surface | R5mm |
| Minimum substrate thickness | 0.8mm |
| Test speed | 60 times/minute |
| Probe size | Φ9mm |
| statistical function | Create a new group, open a group, view a group, clear a group, delete a group, and exit a group |
| number of statistical groups | 100 groups |
| Data storage | Article 1 million |
| Other functions | Data download to PC, WiFi, firmware upgrade |
HTechMT CO600FAT5W Coating Thickness Gauge Packing list
host X1, AA battery X2, test piece set X1, zero adjustment plate X1, certificate X1, manual X1, silicone protective cover X1, instrument bag (cloth bag) X1.
[Note] Because the manufacturer's packaging may be updated or upgraded, the detailed packaging list shall be subject to the latest standard configuration of the manufacturer.


 CO600FAT5W

