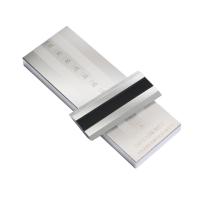
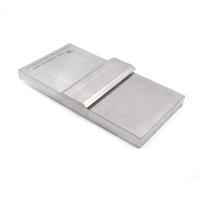
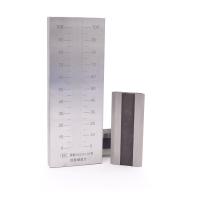
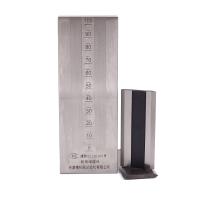
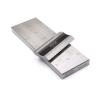
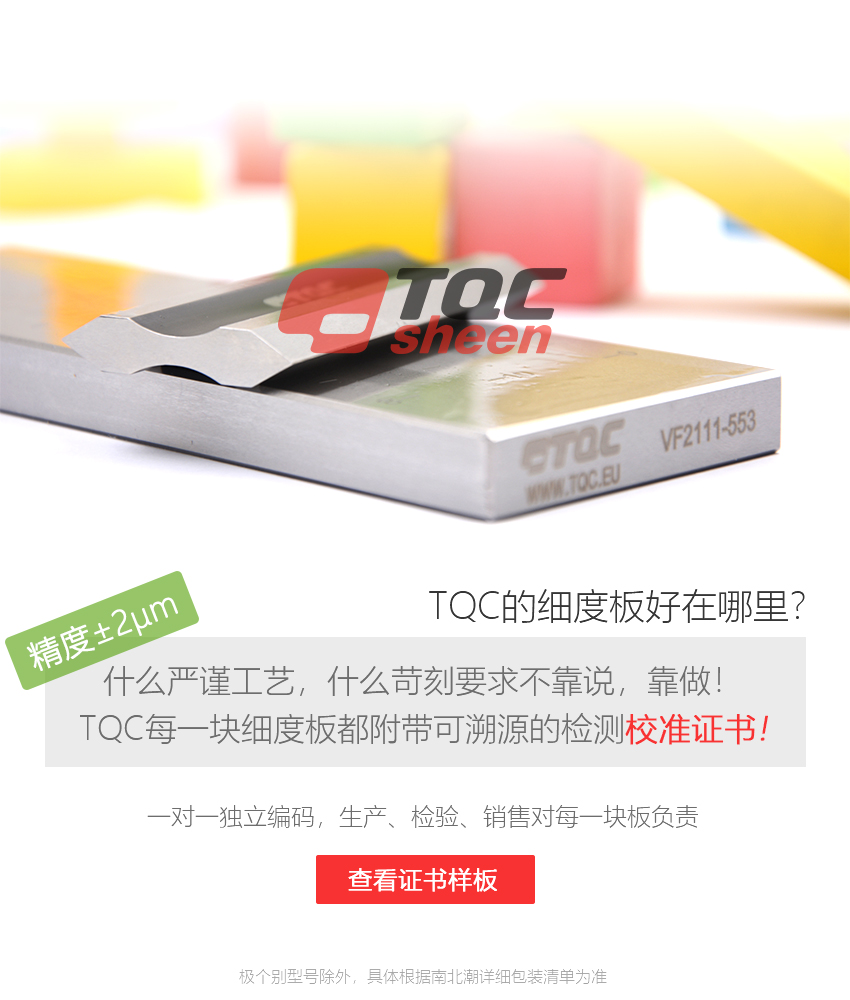
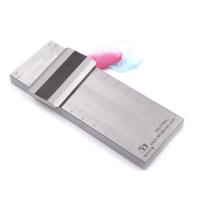
TQC VF2113 double-channel fineness grindometer 0-100 µm with calibrated certificate
Grindometer 0-100 µm, double-channel
 TQC sheen
-

QXD0-50 Grindometer YONGLIDA Fineness range 0-50μm Graduation 5μm
$ 127.00 -

Large wide-channel Fineness gauge MODERNER QXD-25
Login -

JINGKELIAN QXP 50-150μm ISO single-channe Fineness of Grind Gauge with Third Party Measurement Certificate
$ 214.00 -

JINGKELIAN QXP 0-100μm ISO single-channe Fineness of Grind Gauge with Third Party Measurement Certificate
$ 214.00 -

JINGKELIAN QXP 0-100um double-channel Fineness of Grind Gauge with Third Party Measurement Certificate
$ 249.00
Overview of the double-channel Fineness gauge
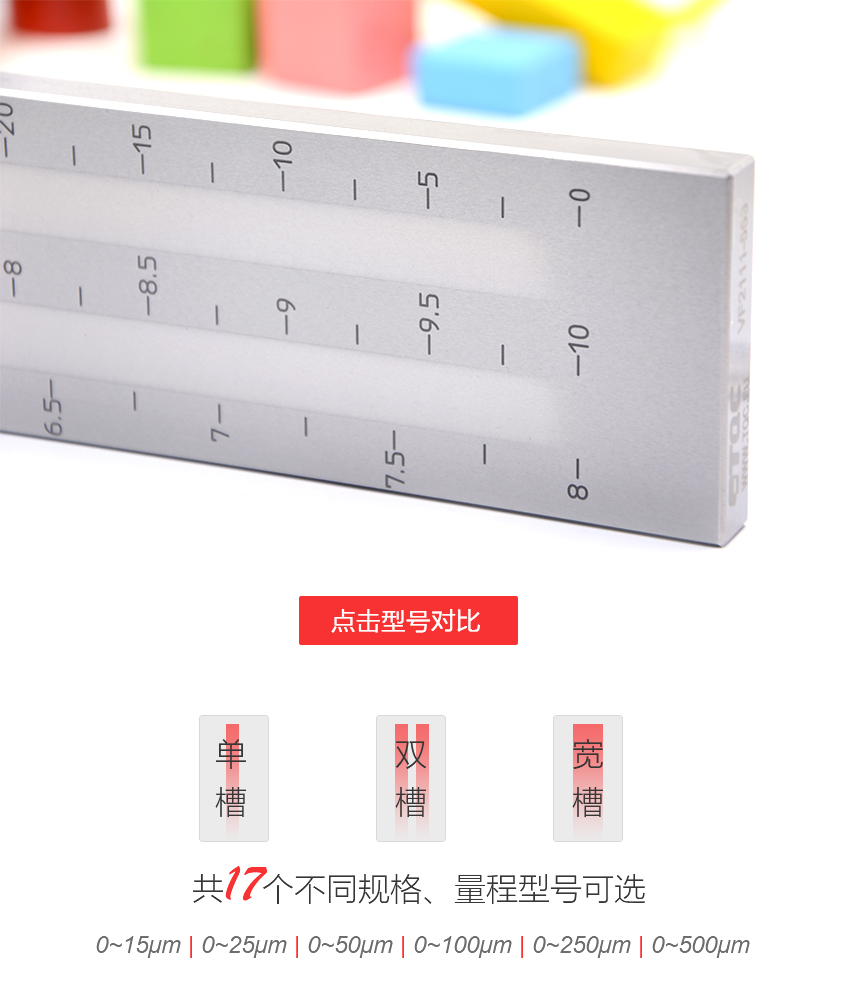
TQC VF2110/VF2111/VF2112/VF2113 double groove fineness gauge is four different measuring range of Grindometer, the measured fineness range is 0~15μm,0~25μm、0~50μm、0~100μm, the fineness accuracy of the measurement is ±2 microns. The material of TQC double groove fineness scale plate is Swiss high-quality stainless steel, which has good wear resistance and corrosion resistance.VF2110/VF2111/VF2112/VFThe 2113 Double Groove Fineness Gauge is a double groove design.
Features
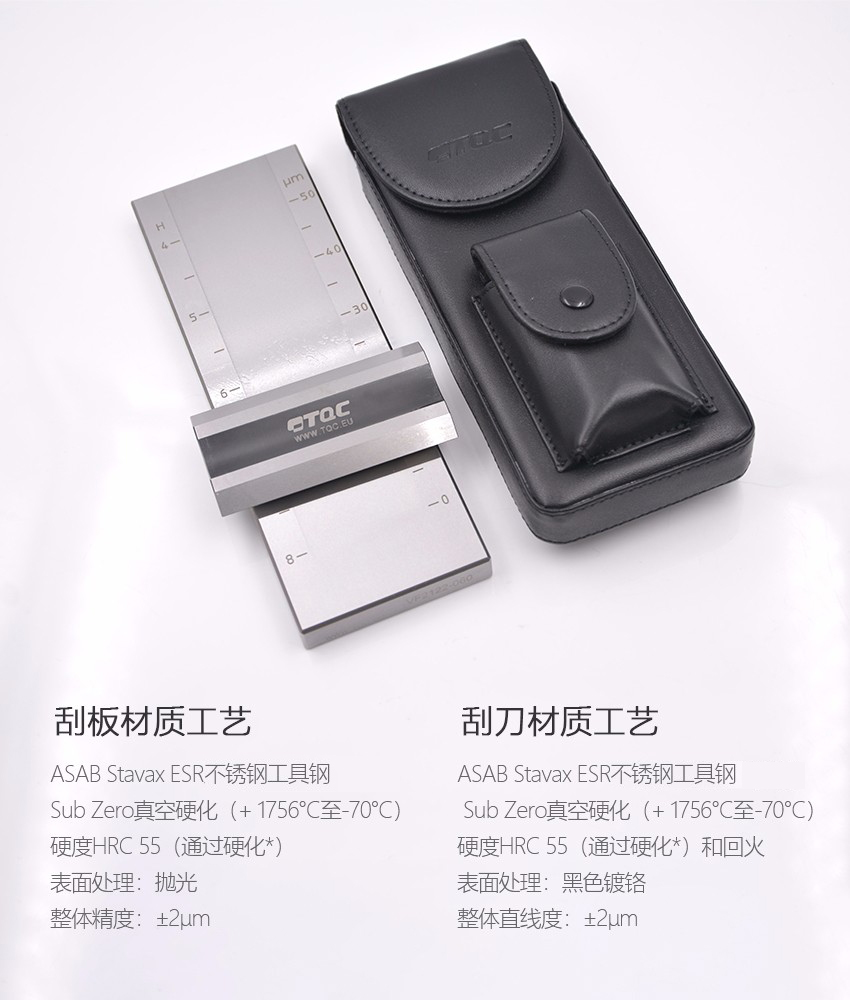
1. The TQC double channel Fineness gauge scraper is made of hardened stainless steel, with a fine, smooth and easy maintenance surface, and can be operated by hand during use.
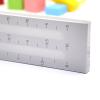
2. The double groove Fineness Meter is a double groove with 3 different parameters: micron, Hegemann, North slope, which belongs to the graded slope design.
3. In addition to measuring the fineness of paint, the TQC fineness plate scraper can also measure the fineness of many materials such as coatings, pigments, raw materials, plastics, printing inks, etc.
4. In chocolate, ceramics, paper, food and other industries, TQC fineness scale plate can also be used to detect the fineness of products, and there are more application fields.
Overview of fineness testing
The physical properties of the final dispersion are often referred to as "fineness", which depends not only on the actual size of the individual particles, but also on the extent to which they are dispersed. Pigment fineness can be quickly measured using a pigment fineness plate.
How to use:
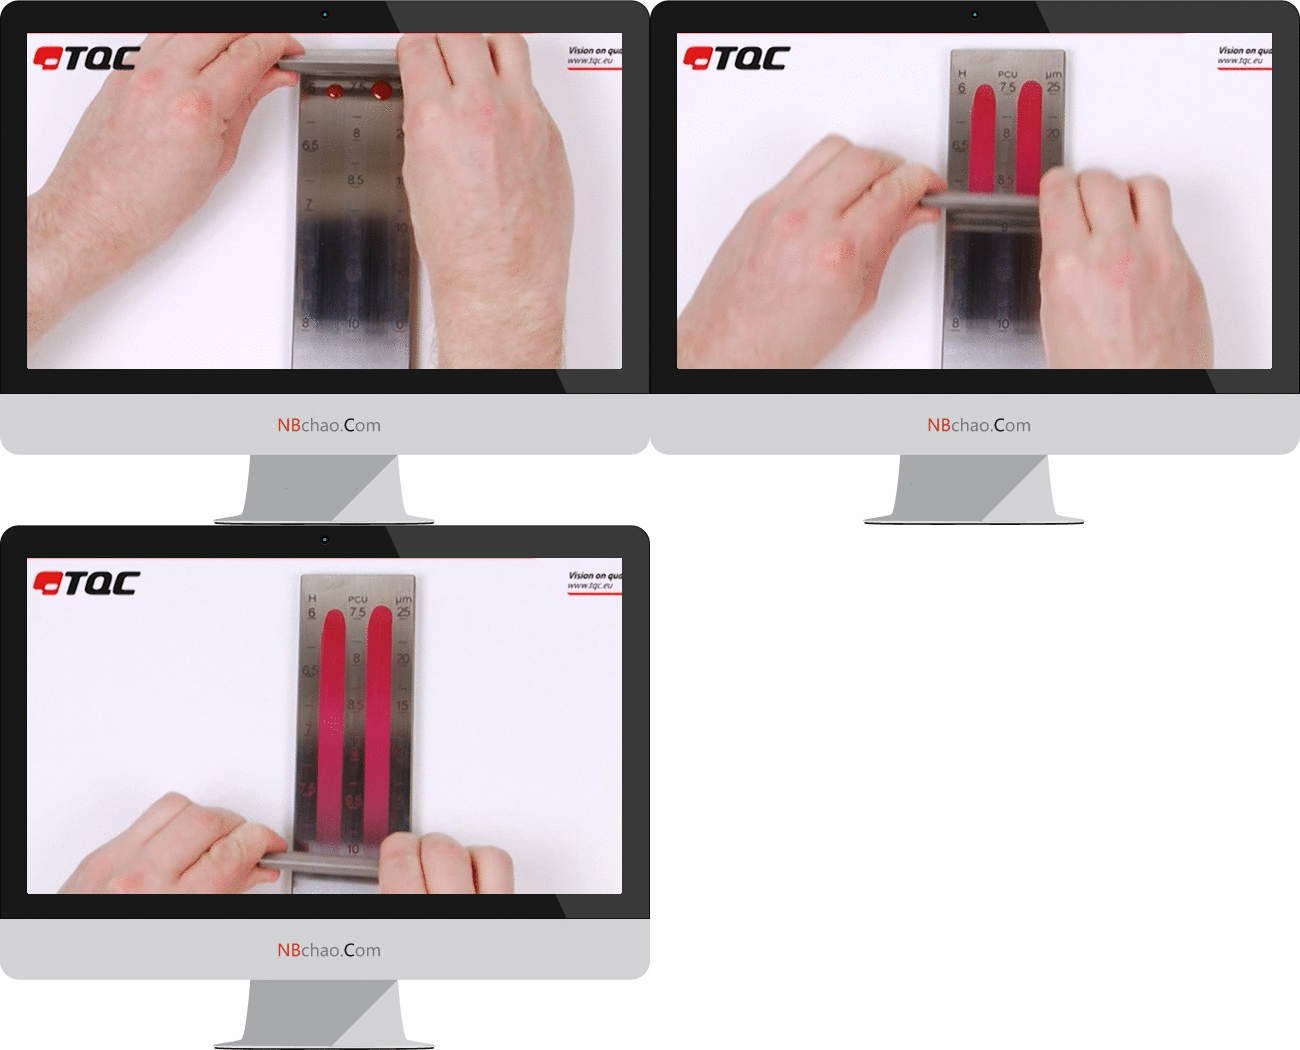
To summarize: take a little more sample and pour it into the deep end of the groove, and use the matching scraper to scrape the measured sample to the shallow end of the groove at a suitable angle and smooth speed. After scraping, you can see that there are many rough particles on the surface of the fineness plate, which is the corresponding test point.
Specification of specific operations:
1 Wash the dip scraper and scraper with the prescribed solvent and dry them with cotton yarn.
2. Stir the specimen that meets the standard viscosity of the product with a grease knife thoroughly.
3. In the deepest part of the groove of the Grindometer, drop a few drops of the sample to fill the groove and slightly redundant.
4 Hold the spatula with the thumb, index finger and middle finger of both hands. It is placed horizontally at the upper end of the Grindometer, so that the scraper is perpendicular to the surface of the Grindometer, and the scraper is pulled from the deep part of the groove to the shallow part at an appropriate speed, so that the paint sample fills the groove and there is no excess paint left on the flat plate.
5. Immediately (no more than 5 seconds) pinch the Fineness Meter and tilt it so that the line of sight is at an angle of 15-30 degrees to the plane of the trench to observe the scale value of the evenly exposed particles in the trench, and the reading value is the fineness of the measured sample.
Take you to the Dutch TQC


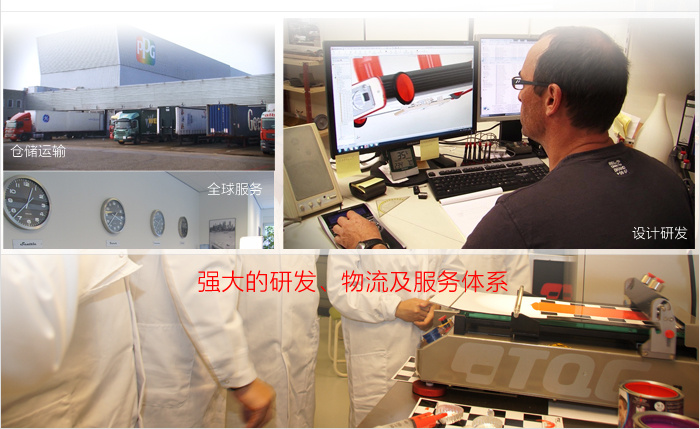
TQC sheen VF2113 Double-channel Fineness gaugeSpecifications
| LIST | VALUE |
|---|---|
| Scraper type | double-channel |
| Number of grooves | 2 |
| range | 0~100μm |
| Scale unit | μm、Hegman、PCU |
| Accuracy | ±2µm |
| scraper material | Swiss 1.2085 tool steel |
| Scraper size | 175*60*12mm |
| Groove width | 12mm |
| Drawdown blade size | 75*38*8mm |
| Graduation | 10μm |
| Calibrated Certificate | With Certificate |
TQC sheen VF2113 Double-channel Fineness gauge Packing list
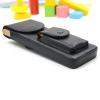
Fineness gauge × 1, doctor blade × 1, protective cover × 1
[Note] Because the manufacturer's packaging may be updated or upgraded, the detailed packaging list shall be subject to the latest standard configuration of the manufacturer.
FAQ
- Frequently Asked Questions about Fineness Plates in 2022
- Inks Fineness gauge principle results and usage introduction
- ActiveHG/T 5173-2017
- AbolishGB/T 12004.5-1992
- ActiveGB/T 13217.5-2023
- ActiveGB/T 42541-2023
- AbolishTB/T 2260-1991
- ActiveHG/T 5367.1-2018
- ActiveHG/T 5183-2017
- ActiveHG/T 5175-2017
- ActiveHG/T 3369-2003
- ActiveASTM D3794-2022
- ActiveJTJ 275-2000
- ActiveJT/T 821.4-2011
- ActiveJT/T 821.3-2011
- ActiveJT/T 821.2-2011
- ActiveJT/T 821.1-2011
- ActiveASTM D1210-05-2022
- ActiveJB/T 9385-2017
- ActiveGB/T 1724-2019
- ActiveASTM D1316-2020
- ActiveJJG 905-2010


 VF2113

