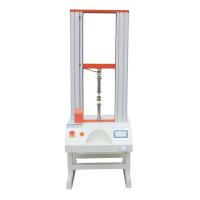
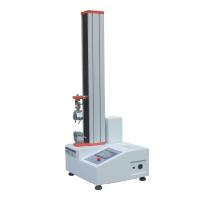
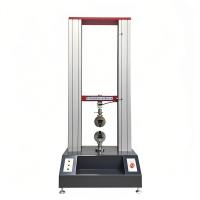
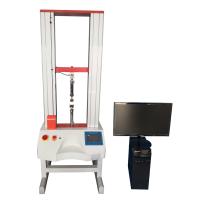
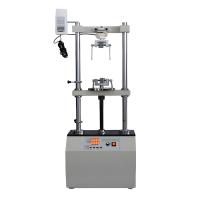
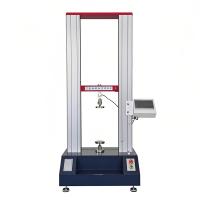
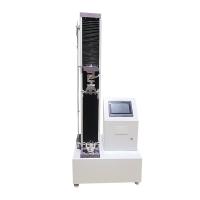
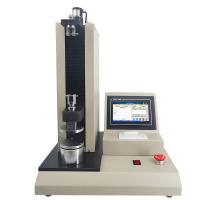
Extensometer is the core precision instrument used to measure the deformation of specimens after stress in the mechanical property test of materials, widely equipped with tensile machines, presses and other equipment, and is used in the tensile, bending and compression tests of metals, non-metals and other materials, and its measurement accuracy directly affects the accuracy of key performance indicators such as elastic modulus, yield strength, and elongation. In the long-term practical process, extensometers are prone to calibration failure, signal drift and other problems, resulting in distortion of test data and affecting product quality judgment. Based on the practical experience in the field, this paper sorts out the correct calibration process of extensometers in detail, analyzes the common causes of signal drift, and gives targeted solutions to provide practical reference for equipment maintenance personnel and testers.
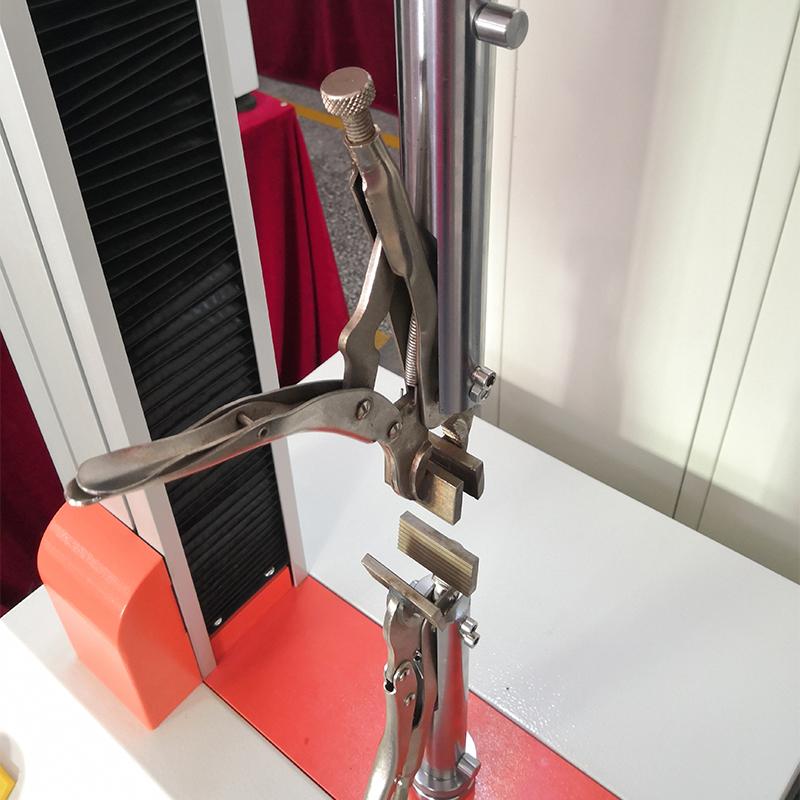
The calibration of the extensometer is the premise of ensuring its measurement accuracy, and it is necessary to follow the principle of "regular calibration, standardized operation, and full traceability", combined with its types (such as contact extensometers, non-contact extensometers) to carry out calibration work, and the core calibration process is divided into three steps, taking into account convenience and professionalism.
The first step is to prepare before calibration.
First, check the appearance of the extensometer to confirm that the clamping jaw is not worn or deformed, the sensor probe is clean and free of stains and damage, the connection line is not damaged, and the joint is not loose and oxidized. secondly, prepare standard calibration instruments, commonly used are standard measuring blocks and standard specimens, and the calibration instruments must be qualified by measurement verification and within the validity period to avoid affecting the calibration results due to the error of standard instruments; Finally, connect the extensometer with the tensile machine control system, start the equipment to warm up for 10-15 minutes, so that the equipment is in a stable working state, and reduce the impact of temperature fluctuations on calibration.
The second step is to calibrate the operation on site.
For contact extensometers, install standard gauge blocks or standard specimens between the extensometer clamping jaws to ensure firm clamping and uniform force, and avoid calibration deviations caused by clamping eccentricity. According to the calibration specification, set different standard deformation variables in turn, record the displayed value of the extensometer, repeat the measurement 3-5 times, calculate the difference between the measured average value and the standard value, and judge whether it is within the allowable error range (usually the extensometer calibration error does not exceed ±0.5%). For non-contact extensometers, the probe needs to be adjusted to align the marking point of the standard specimen to ensure that the optical path is smooth and the signal is stable, and the measurement is repeated and the error is accounted for.
The third step is to confirm and record after calibration.
If the calibration error exceeds the allowable range, the sensitivity parameters and zero point offset of the extensometer should be adjusted in time, and the calibration should be re-calibrated until it is qualified. If the calibration is still unqualified, the internal sensor failure of the extensometer should be investigated. After the calibration is qualified, the calibration date, calibration personnel, standard instrument information, calibration data and error value are recorded in detail, and the calibration file is established to facilitate subsequent traceability and regular verification.
Signal drift is one of the common faults in the use of extensometers, which is manifested in the continuous fluctuation of the deformation variable in the no-load state, or after the application of constant deformation, the display value slowly shifts, exceeding the error range, and its causes are mainly concentrated in four aspects: environment, installation, equipment itself and operation, and the corresponding solutions are as follows.
Drift due to environmental factors
It is mostly caused by drastic changes in the temperature of the test environment, excessive humidity or electromagnetic interference. Temperature changes will cause changes in the resistance value of the extensometer elastomer and strain gauge, high humidity will cause moisture in the internal circuit, and electromagnetic interference will disrupt signal transmission. Solution: Control the test ambient temperature at 20±2°C and keep the relative humidity at 45%-65%; avoid the extensometer being close to high-power equipment, strong electric fields or magnetic fields, and do a good job of equipment grounding treatment to reduce electromagnetic interference; In humid environments, moisture-proof devices can be installed to dry the inside of the extensometer regularly.
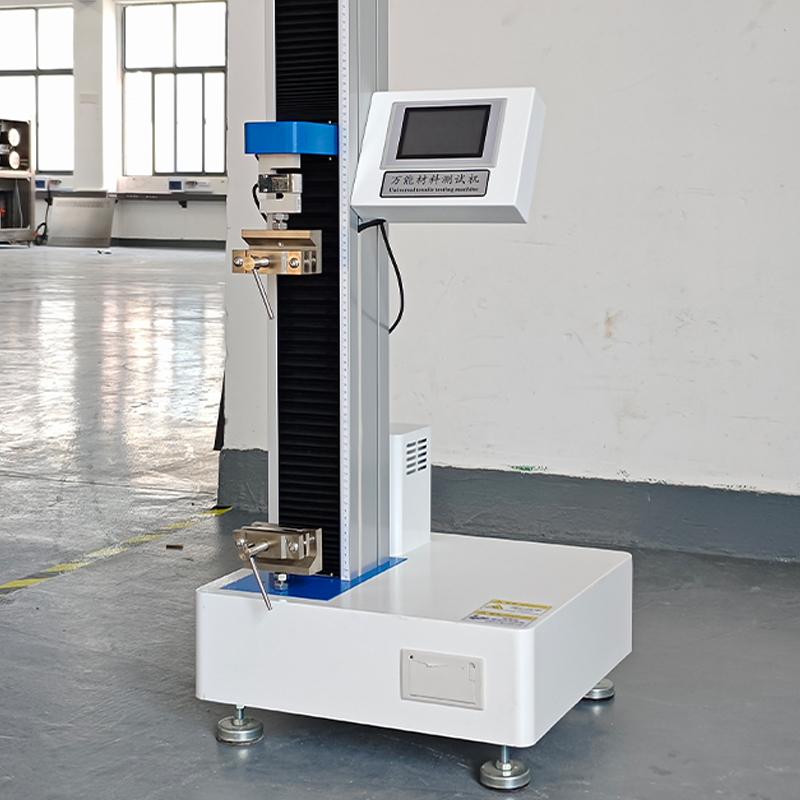
Drift due to improper installation
The main reason is that the extensometer is not firmly clamped, the probe is aligned with the deviation, the installation is eccentric, or the contact pressure with the specimen is uneven, resulting in abnormal force deformation transmission. Solution: Before calibration and testing, ensure that the clamping jaw is tightly fitted to the specimen and not loose, the probe is aligned with the specimen marking point, and the installation position is centered without eccentricity; Adjust the clamping pressure to avoid excessive pressure damaging the specimen or extensometer, and poor contact caused by too little pressure.
Drift caused by the failure of the equipment itself
These include aging sensors, damaged strain gauges, poor contact with connecting wires, or faulty internal extensometer circuits. Solution: Regularly check the connecting wires, clean the oxide layer of the joints, and replace the damaged connecting wires; If the sensor is aging and the strain gauge is damaged, the same model and precision parts need to be replaced, and recalibrated after replacement; Troubleshoot internal circuits, repair faulty components, and ensure stable signal transmission.
Drift due to improper operation
Most of them are not saved in time after calibration, the equipment settings are adjusted arbitrarily during the test, or there are stains and scratches on the surface of the specimen, which affects the deformation measurement. Solution: Save parameters in time after calibration, and do not change equipment settings arbitrarily during testing; Before testing, clean the surface of the specimen to ensure that the surface of the specimen is flat and avoid affecting clamping and deformation transmission.
In addition, routine maintenance can effectively reduce the incidence of extensometer calibration failures and signal drift. The extensometer clamping claw and probe should be cleaned regularly to avoid the accumulation of dust and oil; Avoid the extensometer from being hit and squeezed, and store in a dry, clean and free environment; Calibration and testing are carried out in strict accordance with operating procedures to prevent overload and illegal operation.
In summary, the standardized calibration of the extensometer is the basis to ensure the measurement accuracy, and the solution of signal drift needs to be targeted to investigate the incentives of the environment, installation, equipment, and operation. Regular calibration and daily maintenance, standardizing the operation process, can not only effectively solve the problem of signal drift, extend the service life of the extensometer, but also ensure the accuracy and reliability of the test data of material mechanical properties, and provide strong support for the testing work.


