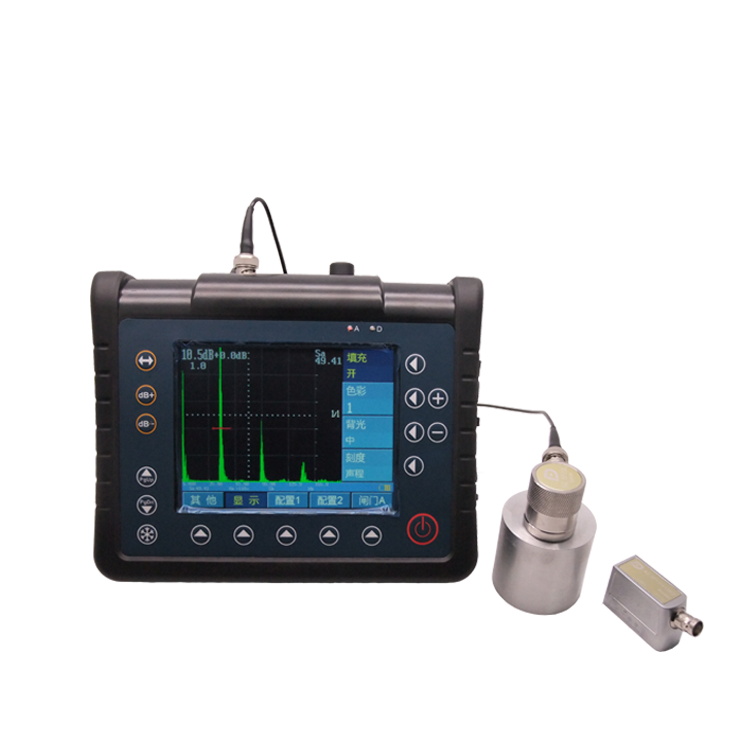
PORUIKE VUT900A high-precision Ultrasonic Flaw Detector
PORUIKE high-precision Ultrasonic Flaw Detector VUT900A detection range 0.5mm~ 15000mm, Speed of sound range 1000~20000 m/s, is an ultrasonic solder joint Detector, VUT900A detection mode bidirectional/positive/negative/RF.
 PoRuiKe
-

LEEB leeb610A Portable Yoke Flaw Detector Magnetization Pole Distance 0~220mm
$ 571.00 -

IPRE UF180 Ultrasonic Flaw Detector nondestructive flaw detection machine 0~9999mm
$ 1658.00 -

MITECH CDX-ⅲ Magnetic Particle Flaw Detector Multifunctional Magnetic Particle Flaw Detector Defect Detection
$ 416.00 -

WENTAI WT-9HS Portable eddy current Flaw Detector Metal crazing detection 64Hz-2MHz
$ 10175.00 -

LEEB leeb522 Ultrasonic Flaw Detector, digital Flaw Detector
$ 3198.00
Overview
The VUT-900A high-precision intelligent ultrasonic solder joint Detector is designed with full consideration of ergonomics, strong and lightweight structure, comfortable to carry, and shock-proof. The buttons and menus are set scientifically and reasonably, and the common functions are simple to operate and easy to use, which can greatly improve work efficiency and reduce labor intensity. The products are designed and produced according to the requirements of the European general standard EN12668-1, and have the advantages of high performance, good stability, complete functions and practicality, reliable quality and strong anti-interference ability. The instrument fully complies with the requirements of various industry standards, and is well received by users at home and abroad, and the software is upgraded to VA0.20 version to use and operate more conveniently and smoothly. The instrument is equipped with the original imported lithium battery, no memory effect, high capacity, and the continuous working time of the battery can reach 8 hours or more, which is an excellent choice for testing operations, especially field operations.
Features
DAC curve generation, storage, and recall functions: Simple to make: take points one by one, and automatically generate four curves: evaluation line, quantitative line, DAC bus, and scrap line Easy to edit: each sampling point can be corrected independently, and the curve spacing can be adjusted independently (to adapt to various standards)
AVG curve generation, storage, and recall functions
Simple to make: > 3N area sampling point can automatically generate a curve, < 3N area sampling point by point to form a curve to ensure the practicability of the curve
Easy to apply: the curve equivalent is autonomously adjustable, and the defect equivalent Φ value is automatically calculated
RF display function: the original waveform is displayed realistically, which is convenient for detailed analysis of echo characteristics and auxiliary qualitative analysis of defects
Surface correction function: automatically correct the curved surface detection results
Peak memory function: helps record the highest echoes
Envelope function: record the change trajectory of the echo
Automatic Echo Spectrum Test: It can be used to test the center frequency of the probe echo and its spectral characteristics
Automatic gain adjustment function: the automatic gain height can be adjusted by itself to achieve quick adjustment of the echo height • Weld inspection graphic function: intuitive graphic display, defect location at a glance, pictures can be stored in the flaw detection report, playback and printing are very convenient
Intelligent equipment calibration procedures: including quick calibration of material sound velocity, automatic measurement of probe delay, automatic calibration of probe angle and K value, making it easier to calibrate the probe
Quick channel setting function: 30 sets of flaw detection parameters can be set and stored in 30 fast channels, which is convenient for storage and recall
Automatic report generation function: The system generates a flaw detection report according to the flaw detection parameters and test data, which contains detailed flaw detection parameters, waveform images and echo data, and can be directly connected to the printer to print the report, or save it in the computer
Continuous storage and playback function: record the dynamic waveform of the detection process to make the data recording more detailed; The menu setting similar to the camera function is easy to understand and easy to operate, and the stored files can also be directly transferred to a USB flash drive and other storage devices at any time
Waveform display area zoom function: The waveform display area can be enlarged to the full screen, which can effectively prevent misoperation during on-site flaw detection
Gate area magnification function: zoom in the gate area to the entire waveform display area, which is convenient to observe the waveform details
Main uses:
It is widely used in machinery manufacturing, iron and steel metallurgy, metal processing industry, chemical industry and other fields that require defect detection and quality control
It is used in in-service safety inspection and life assessment in aerospace, railway transportation, boiler and pressure vessel and other fields
It is suitable for ceramics, plastics, glass, adhesives, carbon fiber, cemented carbide and other materials
Operating Conditions
Ambient temperature: operating temperature -20°C~+50°C
Storage temperature: -30°C~+70°C
Relative Humidity≤90%
There is no strong vibration, no strong magnetic field, no corrosive medium and no serious dust in the surrounding environment
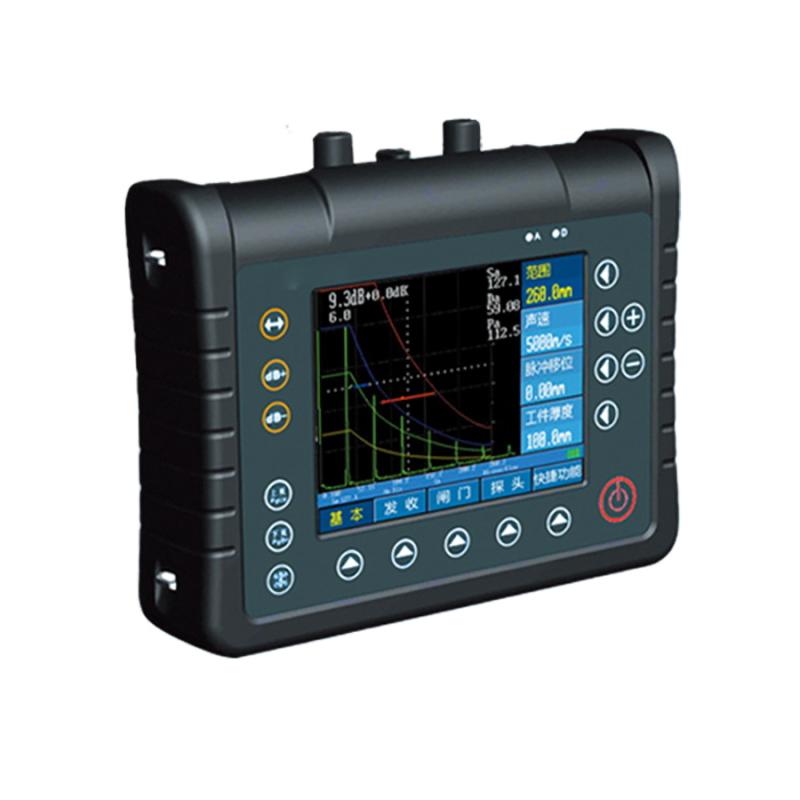
PoRuiKe VUT900A Ultrasonic Flaw DetectorSpecifications
| LIST | VALUE |
|---|---|
| Horizontal Linearity | <0.1% |
| Vertical Linearity | <3% |
| Sensitivity margin | >62dB |
| Dynamic range | >32dB |
| electrical noise level | <20% |
| Far field resolution | >36dB |
| Operating Mode | Single crystal, double crystal mode and penetration mode |
| Transmit pulse | negative spike |
| Frequency range | 0.5MHz~20MHz |
| Frequency of sexual repeability | 25Hz~1000Hz |
| Sampling Frequency | Hardware real-time sampling Frequency 400MHz |
| Scanning range | 0.5~9999mm |
| Speed of sound | 1000~15000m/s |
| scan delay | -10Mm~ 1000mm, continuously adjustable, can switch step |
| probe delay | 0μs~199.9μs |
| impedance matching | 25Ω、50Ω、200Ω、500Ω |
| Gain Range | 0dB~ 110dB, 0.1/0 5/2.0/6.0 step adjustment |
| Detection method | Bidirectional, positive, negative, radio frequency |
| Display | 5.7 "high luminance TFT, 640 x 480 pixels |
| Measurement mode | Frontier or peak |
| parameter storage | Can store commonly used flaw detection parameters and test result data |
| Alarm function | Hardware alarm, sound and light two ways, can set incoming wave, loss wave, DAC alarm mode |
| Communication interface | USB interface and Ethernet interface |
| Operating temperature | -20~50℃ |
| Power Supply | Lithium battery (10.8 V, 5.2Ah), can last for more than 8 hours |
| Power Supply | AC 100-240V, DC 14V-3A |
| Machine Weight | 1.4KG (including battery) |
| Menu Language | Simplified Chinese/English |
PoRuiKe VUT900A Ultrasonic Flaw Detector Packing list
Host X1, lithium battery X1, power adapter X1, AC power cable X1, probe cable X1, straight probe X1, oblique probe X2, USB cable X1, host belt X1, instrument suitcase X1, random data X1, U disk X1
[Note] Because the manufacturer's packaging may be updated or upgraded, the detailed packaging list shall be subject to the latest standard configuration of the manufacturer.
FAQ
- What is an ultrasonic pulse echo system?
- Ultrasonic Flaw Detectors: the right-hand man for nondestructive detection
- The working principle and application of eddy current Flaw Detector
- Basic Principle Characteristics and Application Analysis of Flaw Detector for Casting
- Application of Ultrasonic Flaw Detector


 VUT900A


